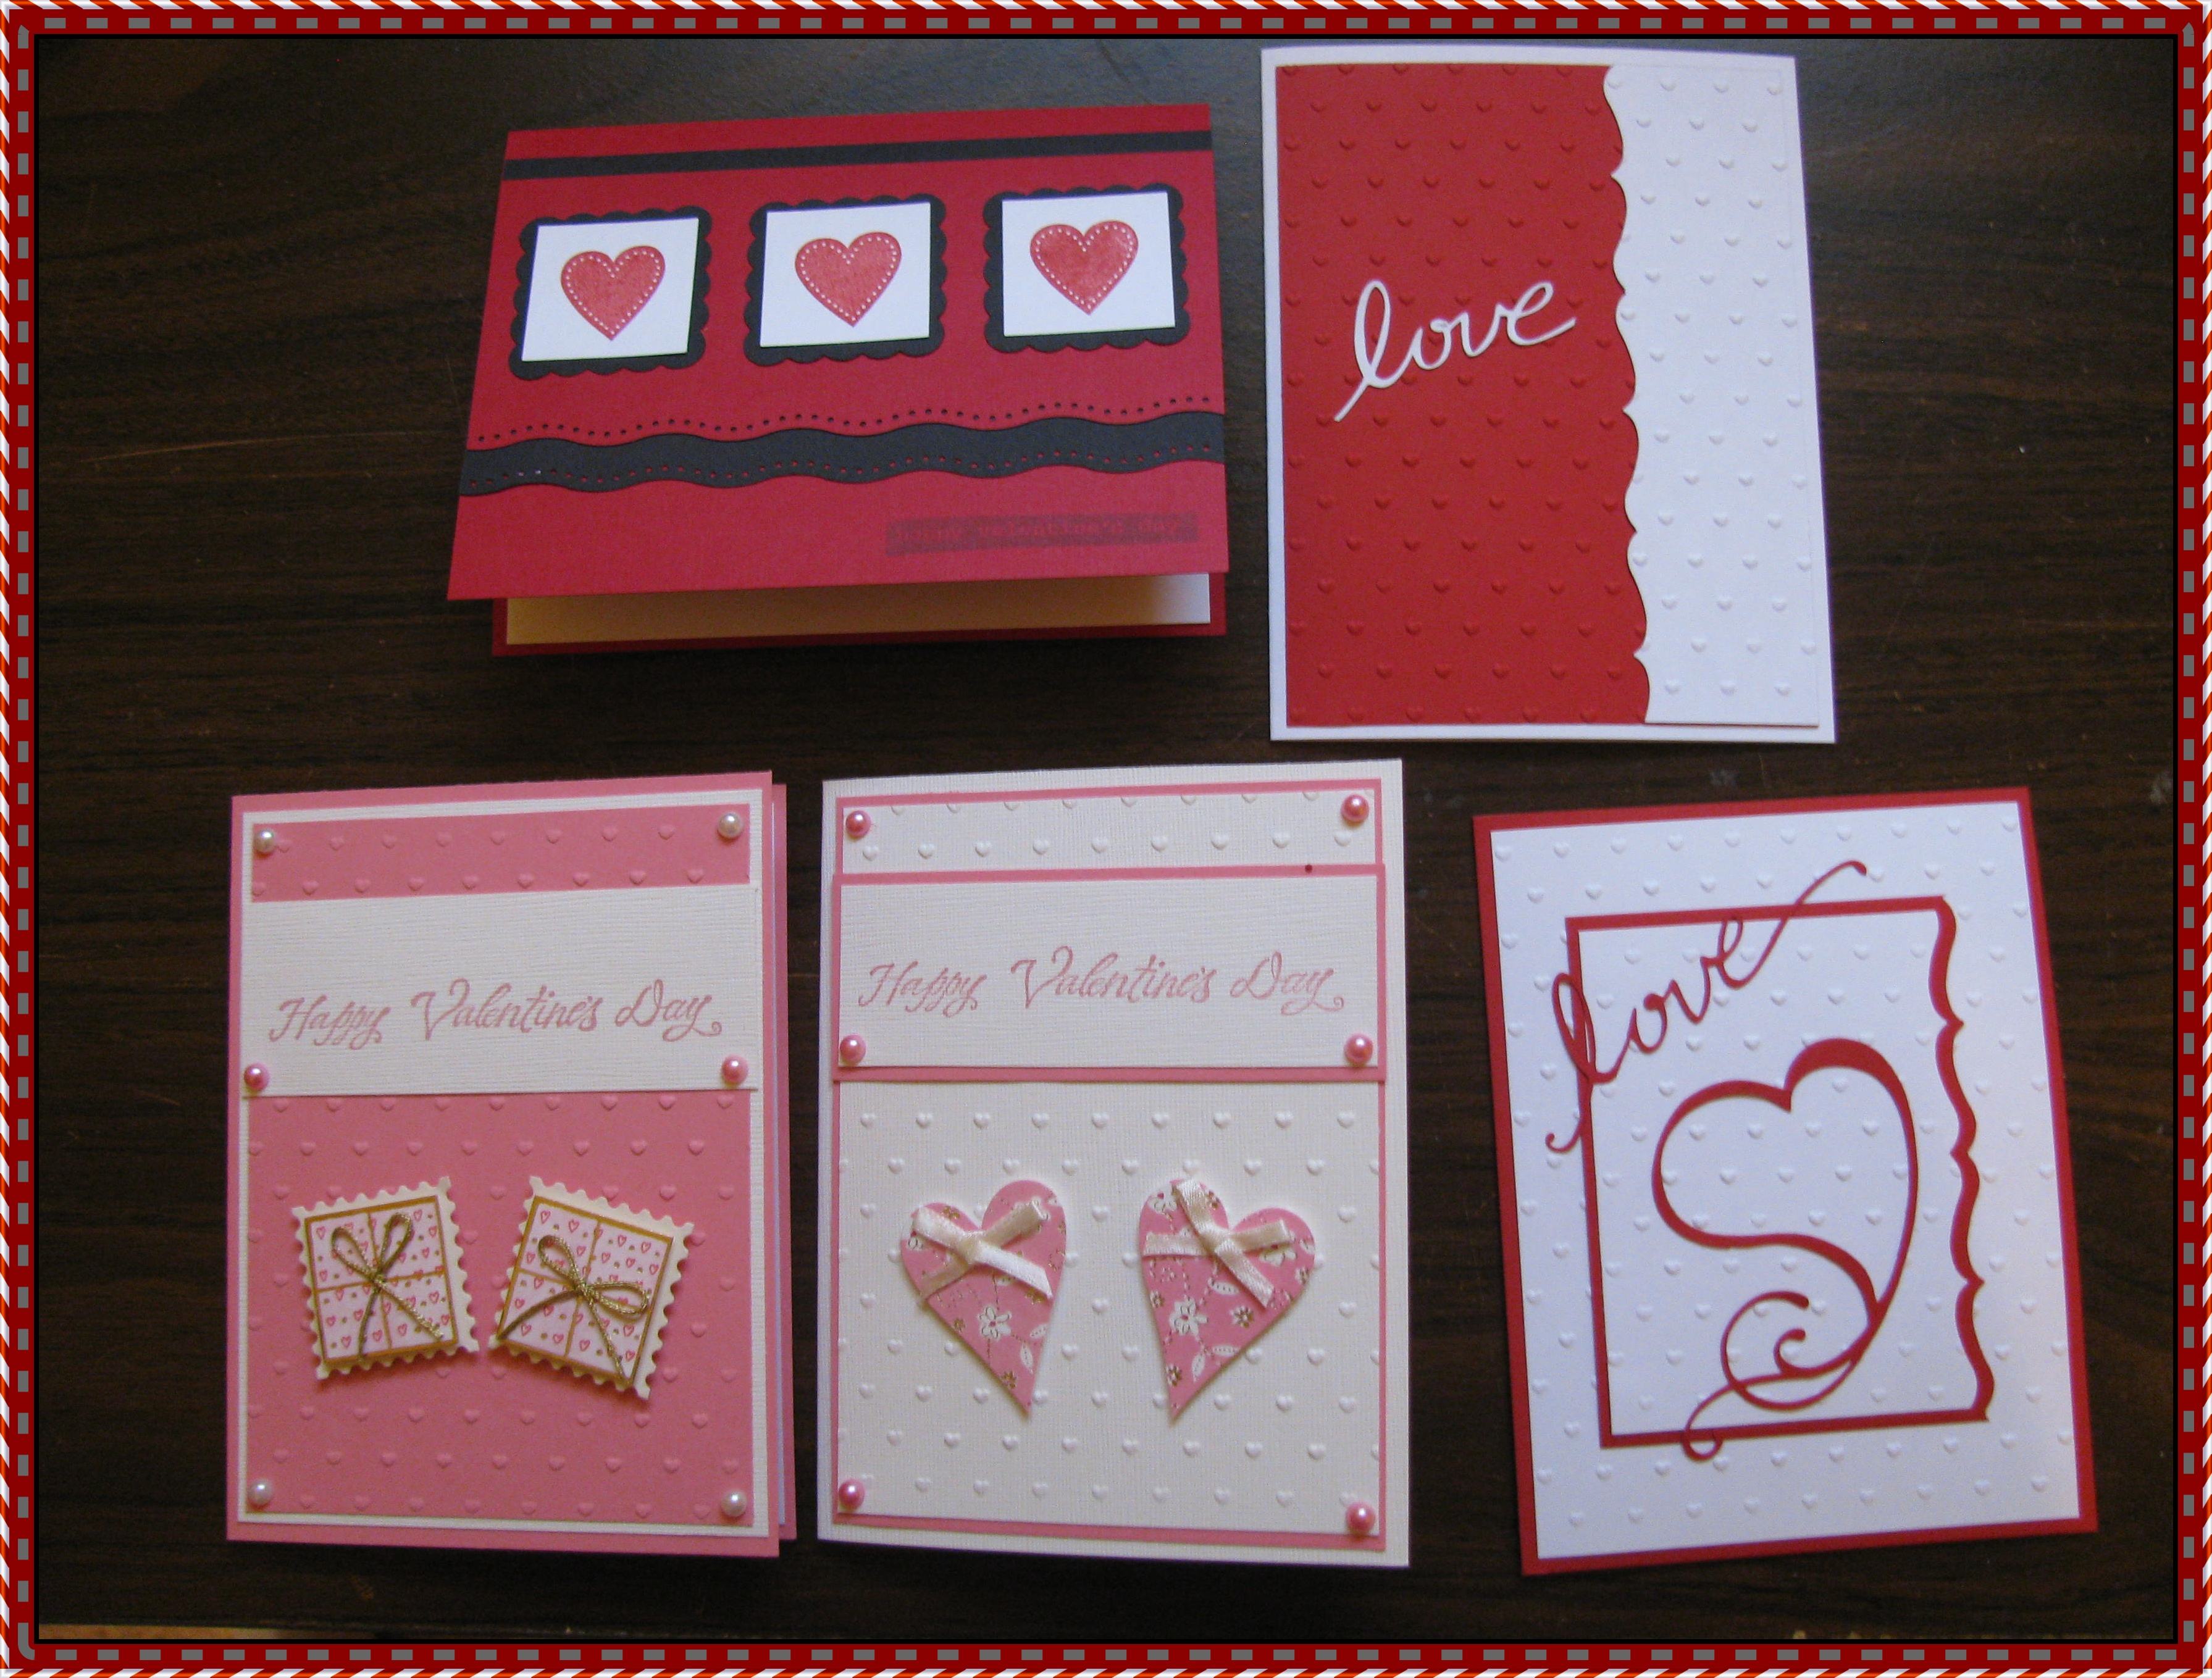
Guide to Make Your Own Valentine’s Day Cards

There’s nothing more heart touching than knowing your beloved has put his/her heart into making something for you. This can be as trivial as choosing a gift or it can be something like making a card, which requires effort and time.
In this era of technology, when people prefer wishing others on the phone, through text messages and/or e-mails, making a handmade card is a great idea to show your loved ones how special they are for you.
If you’re on-board with the idea but are unsure how to go about it, this guide will walk you through all the steps required to make your own valentine’s day cards.
Things Required:
– Chart paper (preferably in red or white to go with the Valentine’s theme)
– Scissors for cutting
– Glue for pasting
– Glitter
– Lace/beads (subject to individual preferences)
– Markers and colorful pens
Instructions
-
1
Finalize a design
Since you have all the things you will be using to make your own Valentine’s Day card, you now need to think about the design you are going to work with. In the end it will come down to your own choice, but will also depend on who you are creating the card for.
For instance, if you’re making a card for a female, you will need to take care of feminine elements like colors and glitter etc. However, if you’re making a card for your guy, you’ll need to stick to boyish colors and a more neutral design.
The shape for the card can be anything, from a square to a rectangle, triangle, circle, or even a heart. -
2
Draw the card's outline
Having decided which shape you want to make the card in, you need to use a pencil to draw the same on the piece of chart paper you have. If you want a heart shaped card for example, just draw the heart on the chart paper.
You need to be careful about the size you draw, because it shouldn’t be too small for adding text or too big. -
3
Cut out the shape
Once you have drawn the shape, you need to cut it out from the chart paper using a scissor. Just follow the line you drew with the pencil and cut out the heart cleanly.
The shape you cut out should be equal on all sides, which means there should be a center point you can draw a line on. This will become the card’s folding point once you fold the two sides around it. -
4
Use lace or beads to decorate the edge
After cutting out the shape of your card from the chart paper, you need to cover the edges with colorful lace or beads to protect the card alongside making it look festive.
If you're using lace, you can cover the edges and fold the lace, half on the upper side of the edge and half on the under side. You can also use glue to stick the lace on permanently. -
5
Draw something or write on the card
Now you can use the thick markers or colorful pens to write on the card or draw something. Most girls go for small flowers, vines or stars, but as mentioned earlier, the design of the card will depend who it's coming from and who it's addressed to.
If you want something to write in the card, here are some great examples of romantic poetry, specially dedicated to husbands. -
6
Give final touches
You can use glitter and the colorful pens to give final touches to your valentine's day card. Rub the glitter in the card's center and the front cover alongside colorful sketches of things your partner holds dear.
In the end, the way you decide to personalize your card depends on your personal preferences and those of your partner. -
7
General Tips for Making Valentine's Day Cards
- You don't have to be restricted by the shape you cut out from the chart paper. You can even cut out other small shapes to paste on the card itself and make some cutout art.
- Just like using lace or beads, you can also use ribbons to adorn your handmade card.
- Sequins can also be used to decorate your handmade card and give it a little color. You can simply use glue to stick on sequins of different colors onto the shape you cut out from the chart paper.


