How to Edit 16mm Film

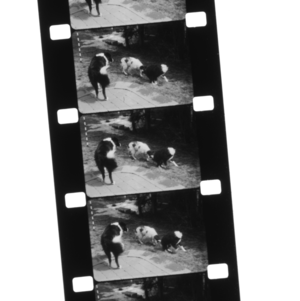
The use of 16mm films has become increasingly uncommon since the advent of digital cameras. Editing a 16mm film can prove to be a hectic task because you may have to spend endless hours in a dark room, depending on the length of the film or number of takes you are planning to edit. You can do this task by using the right equipment in the right manner and fortunately, all the things required for editing a 16mm film can easily be found at a photo supply store.
Things Required:
– 16mm film splicer
– Film leader
– China marker
– Piece of splicing tape
Instructions
-
1
Numerous film editing systems are available for purchase in the market. Determine which software you would want to use for editing the 16mm film. A possible option can be a reliable Steenbeck.
-
2
Carefully load the 16mm film which you plan to edit on the editing system of your choice. At this point, you will need to load the sound mag if available.
-
3
Scrutinise the stack of 16mm film thoroughly. What you are looking for are takes of your choice. There may be more than one takes which you would like to edit in a single section of the 16mm film you are editing.
-
4
Secure the desired section of film in a sprocket holder. This will prevent the film from moving while you are cutting off undesired pieces. Chop off the undesired section of the film using a 16mm film splicer.
-
5
If you want to reuse the detached pieces of film, simply attach them together with a piece of splicing tape.
-
6
Continue in a similar manner until the film takes the shape of your choice.


