How to Use a Capo to Change Keys

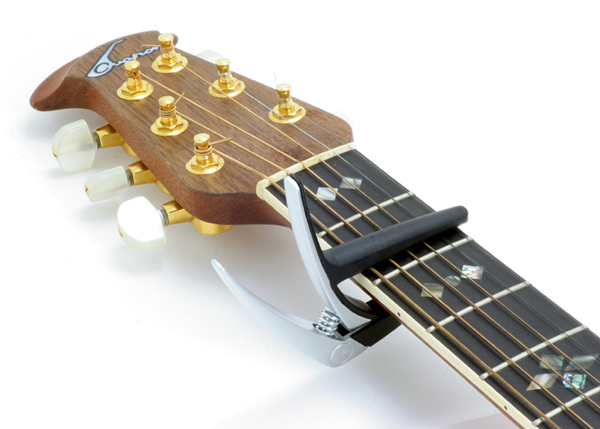
Capo is a short form of an Italian word ‘capotasto’, which is used for a device on the neck of a stringed instrument. If you shorten the length of the strings you can easily raise the pitch. Apart from guitars, it is used in other instruments like mandolins and banjos. By clamping a capo on the fingerboard of your instrument, you can change the key of a song without having to learn new chords. If you are accompanying a singer whose vocal range is more suited to any other key, this skill will be extremely useful for you in that scenario.
Things Required:
– Guitar
Instructions
-
1
Play C chord
In order to use a capo to change the keys of your guitar, the first step is to play a C chord. -
2
Put the capo between the first and the second fret
Now you need to place the capo between the first and seconds frets but make sure that it is closer to the second fret. However, it should not be directly on top of it. -
3
Clamp the capo
You will have to clamp or strap down the capo tight in order to make sure that no strings are buzzing. -
4
Place C chord again
The next step is to play chord C again. By now it should have moved up about half a tone to C#. -
5
Move up the capo to the third fret
Having made sure that the chord C has moved up slightly, you should now move up the capo to the third fret. At this moment, you will realise that you are playing in the key of D. However, you should now closely observe how bright the chord sounds at this position. -
6
Move the capo
On the fingerboard, you can now move the capo up and down. -
7
Notice the difference again
Now you are required to notice the difference in sounds once again and see which one appeals to you more. -
8
Experiment
Being a musician and a guitarist, you should never be shy to experiment different tones as you may come up with a great melody any time. Similarly, it is recommended that using the capo, you play different chords. This would help you a great deal in assessing or finding the best key which suits your vocal range.


