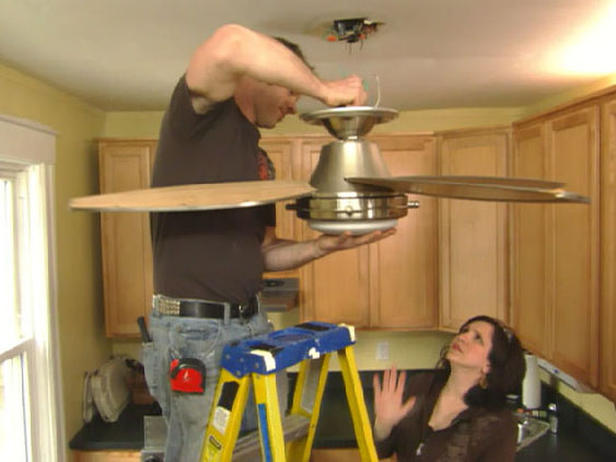
How to Remove a Ceiling Fan

Removing a ceiling fan may appear a difficult task to people who have never done it before, but in reality, it is really an easy job. Having a second pair of hands to help you is ideal, but even an inexperienced person can handle this job alone. Just follow these directions on how to safely remove a ceiling fan.
Things Required:
– Screwdrivers
– Voltage tester (touch-type)
– Ladder
Instructions
-
1
One of the big misconceptions about removing ceiling fans is that the fan has to be disassembled before removal. If you were the one who installed it, you no doubt remember the endless number of screws you used in putting the blade arms together! You can relax. Removing a ceiling fan takes a fraction of the time it took to install it. If you feel that you can easily remove the blades of fan, then just use a screwdriver or Allen key to remove screws from each blade and remove them from the base of the fan.
-
2
Now, as with all electrical jobs, you need to turn off the circuit breaker delivering power to the fan. Turning off the switch to the fan is OK, but for the sake of safety, turning off the breaker will ensure nobody accidentally walks into the room and flips on the switch out of habit--with you holding the wires!
-
3
If you look at the top of the fan where it meets the ceiling, you will see the canopy. At the very top of the canopy you should see a number of screws. If you don't, your ceiling fan may have a decorative compression ring covering them up. It will easily come off to reveal the screws after you twist the ring counter-clockwise. It may take some trying since some compression rings can really grab hold. Once you find the screws, remove them with the screwdriver and allow the canopy to slide down the fan rod.
-
4
Removing the canopy will reveal the mounting bracket and wires. With your touch-type voltage tester, check the wires for voltage just to be safe. If the wires are dead, then disconnect the wiring. Be sure to place the wire nuts back on the ceiling feed wires.
-
5
With the fan wiring disconnected, take a look at how the fan sits in the mounting bracket. It resembles a ball and socket joint. On one side of the mounting bracket's "socket" you will see an opening. All you have to do is lift the fan up and slip it out of the bracket. Since the motor assembly is heavy, this is where having a second pair of hands can come in handy.
-
6
Once the ceiling fan is removed, all that is left connected to the junction box is the mounting bracket. It is held in place by two screws. Simply remove the screws and take down the mounting bracket. Now, you should just have the existing ceiling box with the wires hanging out of it.


