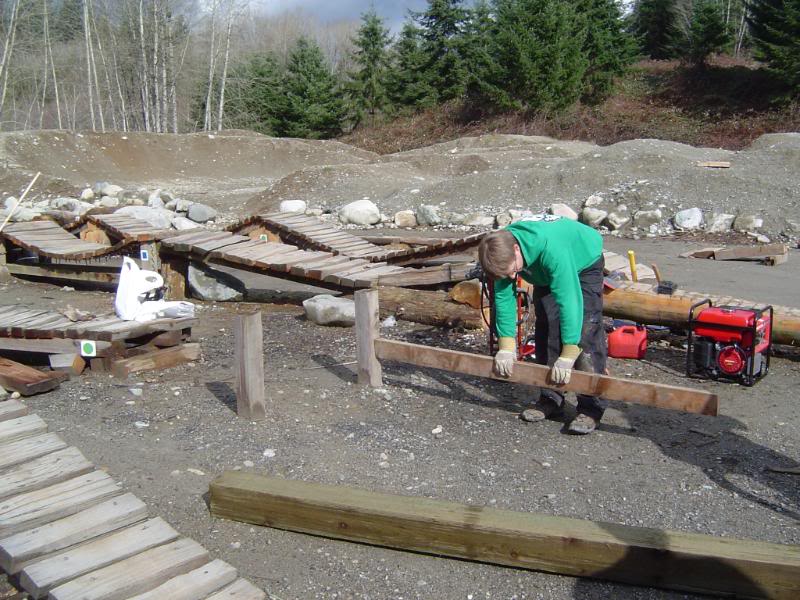
How to Make a See Saw

See saw is an enticing activity for both children and adults. Consider building a see saw in your backyard to provide a fascinating activity for your children. Building a see saw is a moderately easy task. However, it does require some time to complete.
Things Required:
– Fast-drying cement
– 1 inch galvanised pipe
– Liquid Nails construction adhesive
– Galvanised screws
– Marine rope
– Pressure-treated 2x4s
– 2×8 pressure-treated boards
– Palm sander
– Jigsaw
– Posthole digger
– Circular saw
– Drill
– Locking pins
Instructions
-
1
Cut Lumber to Size
Use a circular saw to cut a 2x8 lumber piece to desired length. The ideal length of a see saw is 9 feet, exactly 4.5 feet on either side of the see saw pivot. Use pressure treated wood and make sure that the board you use is of uniform width to ensure equal weight distribution. This will serve as the see saw seat board.
Cut a 2x4 lumber piece to the same length as the seat board. This will serve as the see saw’s brace board.
For the see saw uprights, cut 2x8 lumber pieces, each 35 inches in length. Use palm sander to smooth out edges of all the lumber pieces. -
2
Dig Post Holes
Use a posthole digger to dig a hole large enough to accommodate the see saw uprights. Secure the uprights in this hole using fast-drying cement. Set the uprights 7-3/4 inches apart and 17 inches deep. This means 18 inches length of each upright would be above the ground. -
3
Cut Notches
Cut 2-1/4 inch deep U-shaped notches in each of the uprights with a jigsaw. These notches will accept the pivot (1 inch galvanised pipe). Cut another notch in the brace board’s centre. Both depth and width of this notch should be 1-1/4 inches. -
4
Attach the Brace Board
Mark the seat board along its length and down the centre. Attach brace boards, notched side down using Liquid Nails construction adhesive. Drive galvanised screws, spaced 6 inches apart, along the entire length of the seat board for reinforcing the see saw. -
5
Position Pipe and Secure
Set a 1 inch galvanised pipe in the upright notches. Make sure that the pipe is long enough to easily allow a 1-1/2 inches overhang on each side. To secure the pipe, you will need to use locking pins. Use a drill to bore 1/4 inch holes through both uprights and set the locking pins. -
6
Add the handles
To complete the see saw, you will need to attach the see saw handles. For the handles, drill holes 5/8 inch in diameter, positioned 16 inches from the seat board end and 1-1/4 inches from the sides. Feed an appropriate length of marine rope through the holes and tie the ends.


