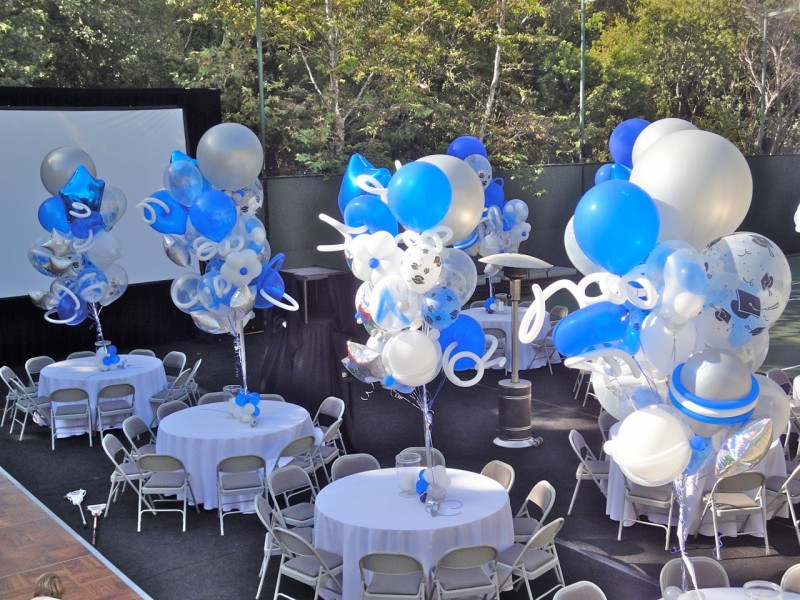
How to Make Balloon Centerpieces

On different occasions like weddings and dinner parties, people usually decorate their tables with different items including metal centerpieces and flowers. A fun concept is to create an interesting centerpiece made from balloons.
You do not need to take help from anyone for making a balloon centerpiece as you can easily put one together on your own. Gather the necessary items and follow these simple steps to make a balloon centerpiece that your family is sure to appreciate.
Things Required:
– Balloons
– Scissors
– Helium tank (optional)
– Balloon weights
– Curling ribbon
– Vase or decorative container
– Floating Centerpiece
Instructions
-
1
First, you need to fill all balloons with helium. You should put the opened mouth of balloon on the nozzle of helium tank and press the balloon downwards so that nozzle can enter a little into the balloon.
-
2
Then pull the valve of the helium tank and within a fraction of a second your balloon will inflate. Make sure you do not fill too much helium as your balloon will burst.
-
3
After filling the desired helium, you should slip off the balloon from the nozzle of helium tank and then tie a knot to avoid any leakage. You can also search for such stores where they have helium tanks and fill the gas before handing it over to their customers.
-
4
Now, take the curling ribbons and cut their length properly by using scissors. Tie one end of curling ribbon with the knot of the balloon. You should cut curly ribbons in various lengths which will give your centerpiece an elegant look.
-
5
Join the ends of all the ribbons and tie these ends with balloon weights. It will give your balloons a base and they will be secure as they start floating in the air.
-
6
Now it’s time to take a decorative container or a beautiful vase and place the balloon weight on it. Place this vase or container in the center of your table and your centerpieces are ready to grab the attention of all your guests.


