How to Grow a Chia Pet

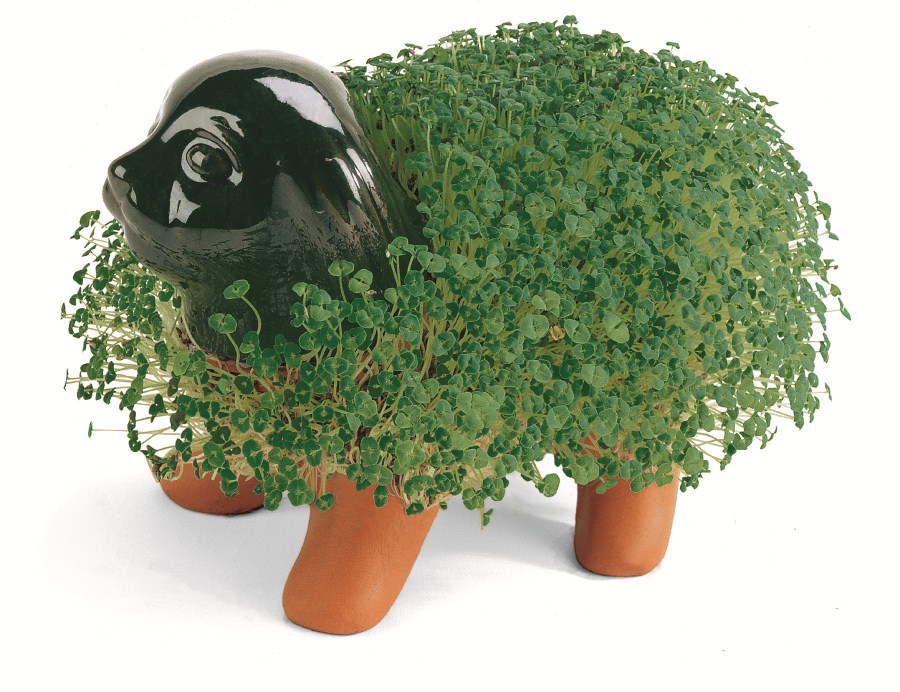
Chia pets were originally developed in the 1980’s and have gained popularity ever since. The idea is to grow Chia pets indoors on the surface of an animal shape made out of ceramics. A Chia pet can be grown easily and economically. Moreover, growing Chia pets is an effective way of teaching your kids how to take care of a growing plant.
Things Required:
– Chia pet
– Bowl
– Water
– Plastic shallow container
– A cup or container
– Plant trimmers or a pair of household scissors
Instructions
-
1
Take a deep plastic bowl and fill it with enough water to completely cover the entire Chia pet that you plan to grow. Remove the Chia pet from the packaging in which it originally came from the market and immerse the Chia pet in the water. Set aside the bowl for about 24 hours.
-
2
Separate about one third of the seeds that came in the Chia pet packaging. Use water to moisten the seeds until they look similar to a paste. At the end of 24 hours, take out the Chia pet which you immersed in water and place the seeds in its groves.
-
3
Carefully place the Chia pet in a shallow container made of plastic. Set the container at some place where the sun shines for most part of the day. Sunshine is very important for proper growth of a Chia pet which is why you would need to ensure that it gets plenty of sunlight.
-
4
Fill a cup or any other container with water and use it to keep the growing plant moist as much as possible. However, you will need to ensure that excess water does not remain in the drip pan. Make it a habit to empty the pan at least once every day.
-
5
Use plant trimmers or a pair of household scissors to trim the Chia pet regularly. Consider making the growing plants resemble the hair cut of the ceramic figure on which the plants are growing for a more personalised look. Since you are the artist, you can trim the pet according to your own desire.


