How to Repair a Bathroom Fan

It is normal for mould and mildew to build up on a bathroom fan and cause it to malfunction or stop working altogether. In such situations, it becomes imperative to repair the fan to ensure that the steam from showers and baths is properly exhausted. Although repairing a bathroom fan requires both time and effort, it sure beats trying to cope with the smell that accumulates in the bathroom as well as the mould and mildew build up.
Things Required:
– Wire cutters
– Screwdriver or putty knife
– Ladder (if required)
Instructions
-
1
To ensure that you are working in a risk free environment, cut off the wires supplying electricity to the fan with a pair of wire cutters. Alternatively, use the main power breaker to interrupt the supply of power. This is important even if you do not plan to work on the interior of the fan because you can never trust electrical appliances.
-
2
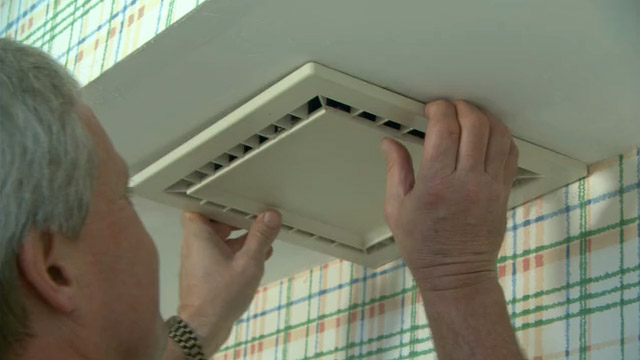
Use a screwdriver to remove the screws holding the fan’s cover in place. Be sure to keep the screws you remove handy because you will need them later. You may have to use a putty knife to loosen the fan’s cover if it was painted over. Pull at the fan cover carefully and try not to yank the sheet rock out in the process.
-
3
Start with a visual inspection. Check for loose wires and reconnect them. This is a simple fix and will not cost you anything.
-
4
In case the visual inspection fails and you cannot spot the problem, carefully pull the fan out. Just a little pressure will be required to accomplish this. But before you try to pull out the fan, ensure that you have removed all the screws. Allow time for any bulb that is installed in the fan housing to cool down properly before removing it.
-
5
Instead of trying anything else, take the fan to a hardware store and get a replacement. Make sure that you get a fan of the same size as the old one. This will save you the hassle of making changes to the structure of your bathroom. Install the new fan in place and reconnect the wires that you disconnected earlier.


