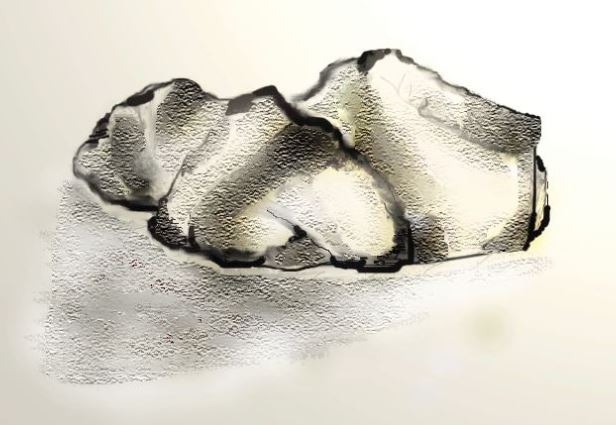
How to Draw Rocks in Photoshop
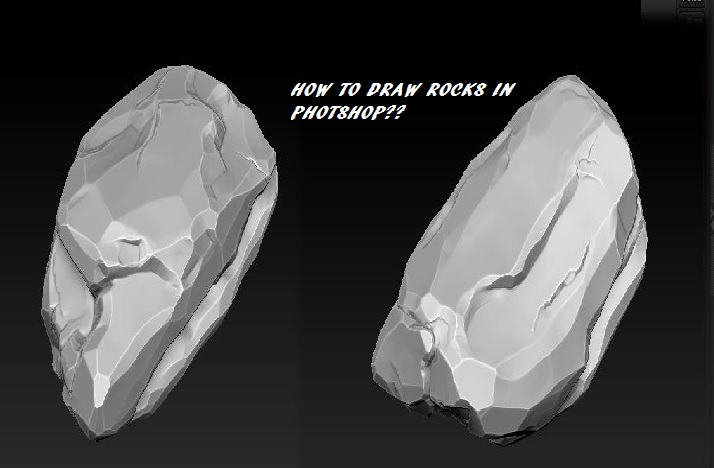
Photoshop is a multipurpose software that allows designing, drawing and editing photos under one roof. Because of being simple and intuitive, it rapidly builds up interest which is why even the most naive person can learn to design and draw with trial and error. Another reason for the extensive use of this software is that it is free to use. In addition to this it takes less space in the memory of your system which explains why it is more popular then other designing and drawing tools.
Described in this article is the method to draw rocks in Photoshop and the version that has been used is 7.0. However you may use any version of your choice.
Instructions
-
1
Open Adobe Photoshop and start with a new canvas. Create a new layer and save it with an appropriate name. Make sure that the length and width of the canvas are wide enough to let you draw the rocks with ease.
-
2
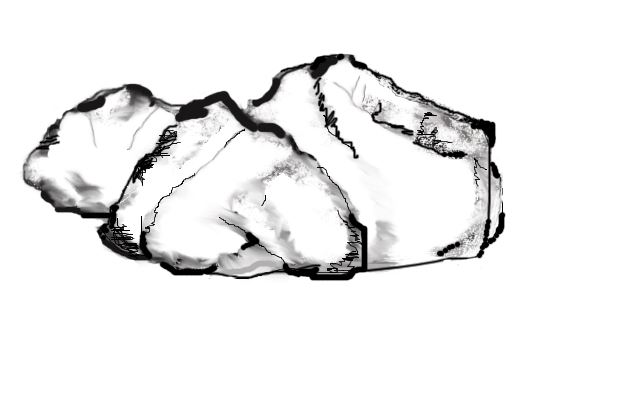
Now select the brush tool from the tools panel and start drawing the rocks. Draw the rocks with any shape you want but usually the rocks are heavier from the bottom then the top. Make the outline of the rocks using brush with higher pixels. Also make impressions on the rocks by selecting brushes with fewer pixels. For drawing impressions simply draw somewhat vertical lines running through the rocks. Pick black color (252320) for outline and gray color (9A988C) for shading. Once you are done drawing the rocks apply the smudge tool to refine the shading.
-
3
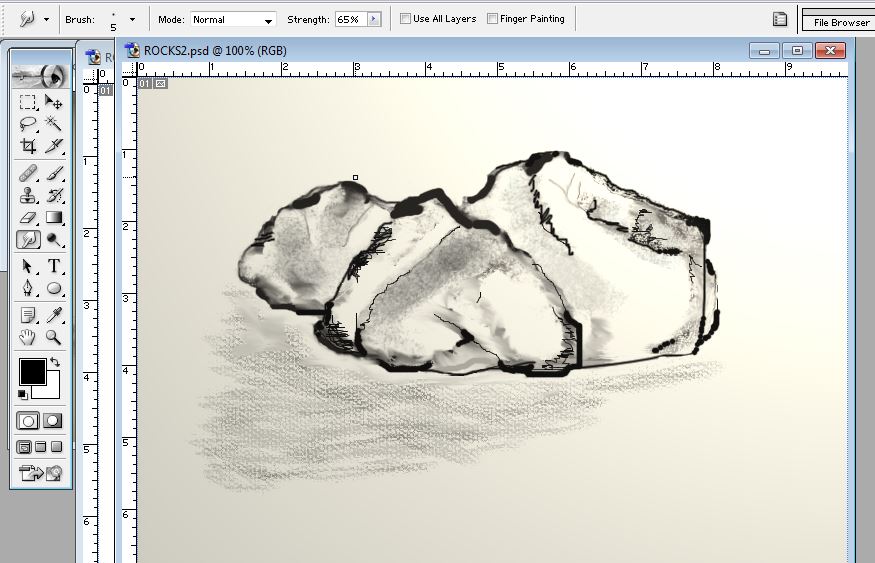
Now is the time to give some lighting effects. Go to filter menu and choose render and then select lighting effects. Now set the focus of the light on the top right corner of the canvas. Now work more on shading and since the focus of the light is on the top right corner of the canvas, so adjust the shading effects accordingly.
-
4
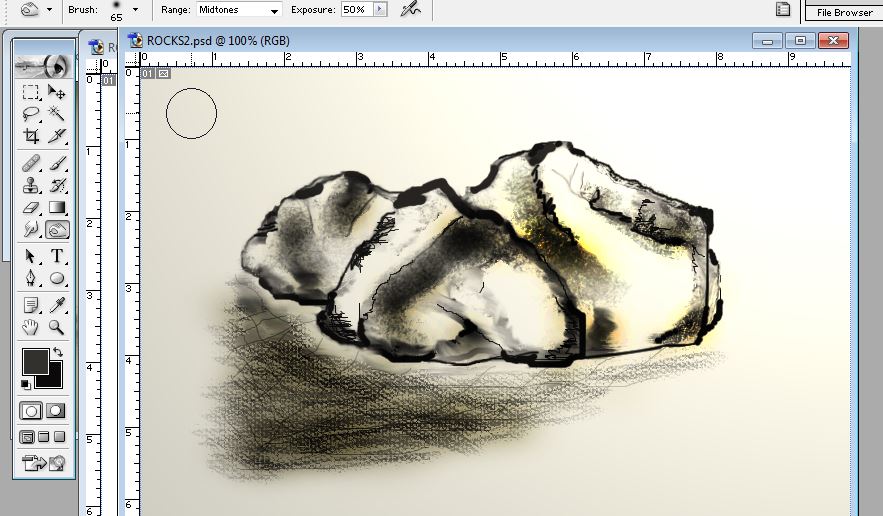
Next select FEB5CB color, select the the burn tool and set it at 100 pixels. Now with the help of this tool sponge the rocks to give it a little even color.
-
5
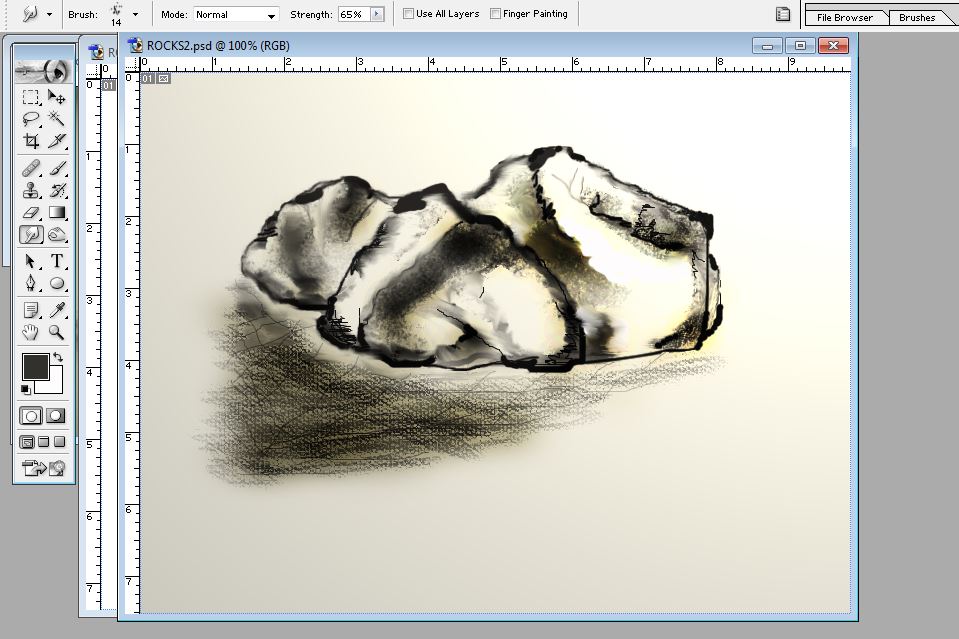
Next smoothen the edges by selecting the smudge tool and refine the corners with it.
-
6
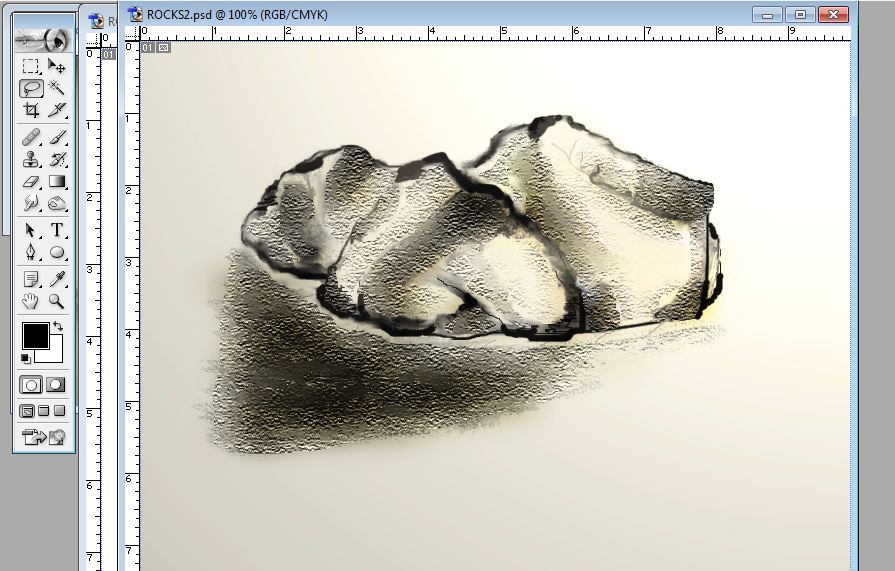
Since the rocks are rough so now create texture. For this select the darker areas of the rocks using the lasso tool and then apply under - painting on the selected area. For under-painting go to the filter menu and choose artistic menu and then select under-painting. This will open a new window with a list of options so make sure that everything is set as default in the under-painting window. Click OK. Repeat this process wherever you want to create the texture.
-
7
Finally sharpen the edges by using the dodge tool with 65 pixel brush and 50 % exposure.
