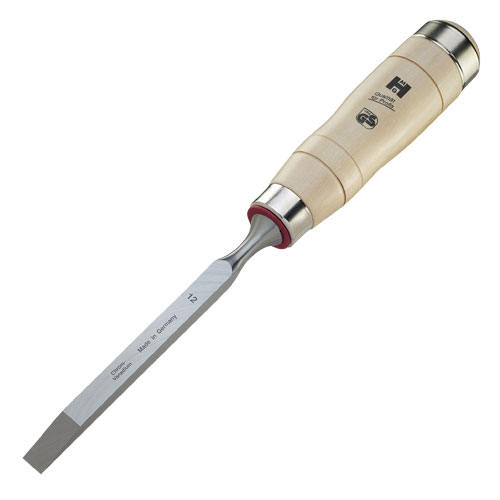
How to Use a Mortise Chisel

A mortise chisel, characterized by its peculiar shape, is a tool used to create one half of a mortise and tenon joint, which has been in use for furniture since thousands of years now. The joint consists of a rectangular hole and its counterpart, both of which fit together to provide stability. You can create several different types of mortises, including an open mortise, a stub or a through mortise using a mortise chisel. Keep reading to learn how to properly use the chisel and make a proper mortise.
Things required:
– Scale
– Pencil
– Masking tape
– Wood hammer
– Mortise chisel
Instructions
-
1
Take the two pieces of wood which are going to go together. One piece has to be thicker than the other, and will have the mortise hole, while the thinner one will be the tenon. Take a pencil and mark the joints on the wood pieces with the help of a scale. Make sure you leave enough room on all four sides of the mortise hole to ensure joint strength.
-
2
Now take your mortise chisel and determine the type of mortise you want. If you want a through mortise, you will have to go all the way across the piece of wood. However, stub mortises are more common, and in order to make one, you will need to determine a depth for the hole.
-
3
After deciding how deep you want the mortise hole to be, take masking tape and roll it around your chisel at the height (from the bottom) you have decided (the depth). This is to ensure that you don’t go deeper than you want and end up with a consistent mortise.
-
4
Now place the chisel upright on the piece of wood and use the wood hammer to knock it in. It is easier if you knock in the chisel a little before pulling it across the marked area to shave off the wood. This way you can gradually go deeper without having to pull out a massive chunk of wood.
-
5
Continue shaving the wood and keep checking with your chisel to make sure you don’t exceed the depth you want. You should use the wood hammer to knock in the chisel after every inch before starting to chip off the wood and go deeper.
-
6
Once you are nearly at the depth you want, you need to start flattening the mortise. Use the square, back end of the chisel and knock it down with the hammer to make sure the bottom of the mortise is flat and so are its sides.


