How to Make a Decoupage Serving Tray

A decoupage serving tray is a very good gift idea for birthdays and causal get-togethers. It can serve multiple purposes especially during the summers. The best part is that this tray can be made at home and personalized according to specific needs. In this article, we will go through an easy method to make a decoupage serving tray.
Things Required:
– Serving Tray preferably made of wood
– Pictures
– Masking Tape
– Gesso
– Paint Brush
– Acrylic Paint
– Scissors
– Mod Podge (varnish and glue)
– Ruler
– Clear contact paper or dry liners
Instructions
-
1
The first step is to prepare the tray by applying masking tape to the inside corners. Ensure that you do not apply the tape on the openings which are used to carry the tray. There is no need to cover the side with one long piece of tape; you can do so by using two to three small pieces. The important thing is that the inside corners are properly covered.
-
2
Now apply some gesso to the bottom of the tray and spread that using the paint brush. We use gesso so that our glue and pictures adhere to the tray.
-
3
When the gesso is dry, you can apply the acrylic paint, which is used to cover up the gesso layer in case you intend to keep a space between the pictures. The paint coat should be uniform and spread throughout the base of the tray.
-
4
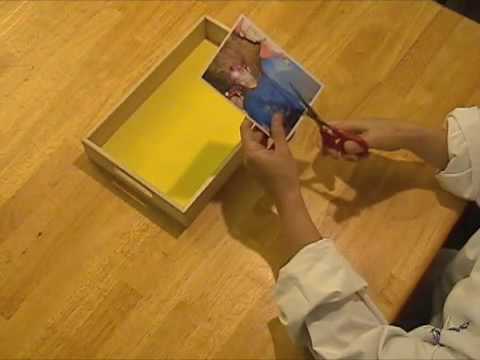
After the paint dries, remove the masking tape and cut the pictures for your project. These pictures should mean something to the person for whom you are preparing the decoupage serving tray as a gift. After cutting the photos, arrange them on the tray. It is best not to leave any space between the photos.
-
5
Once you have made the final arrangement, start gluing them with the help of mod podge. The paint brush should be used for application. Remove one photo; apply mod podge and then move on to the next.
-
6
Once the pictures have been glued and the mod podge has dried, use it to varnish the photos. You must apply the mod podge at the corners of the tray as well to protect against liquid spillage. Varnish the whole tray at least twice.
-
7
The final step is to apply the contact paper which gives extra protection against spill, wear and tear. Use a scale to measure the dimensions of the tray and cut the contact paper according to that size. After that carefully peel off and apply the liner.


