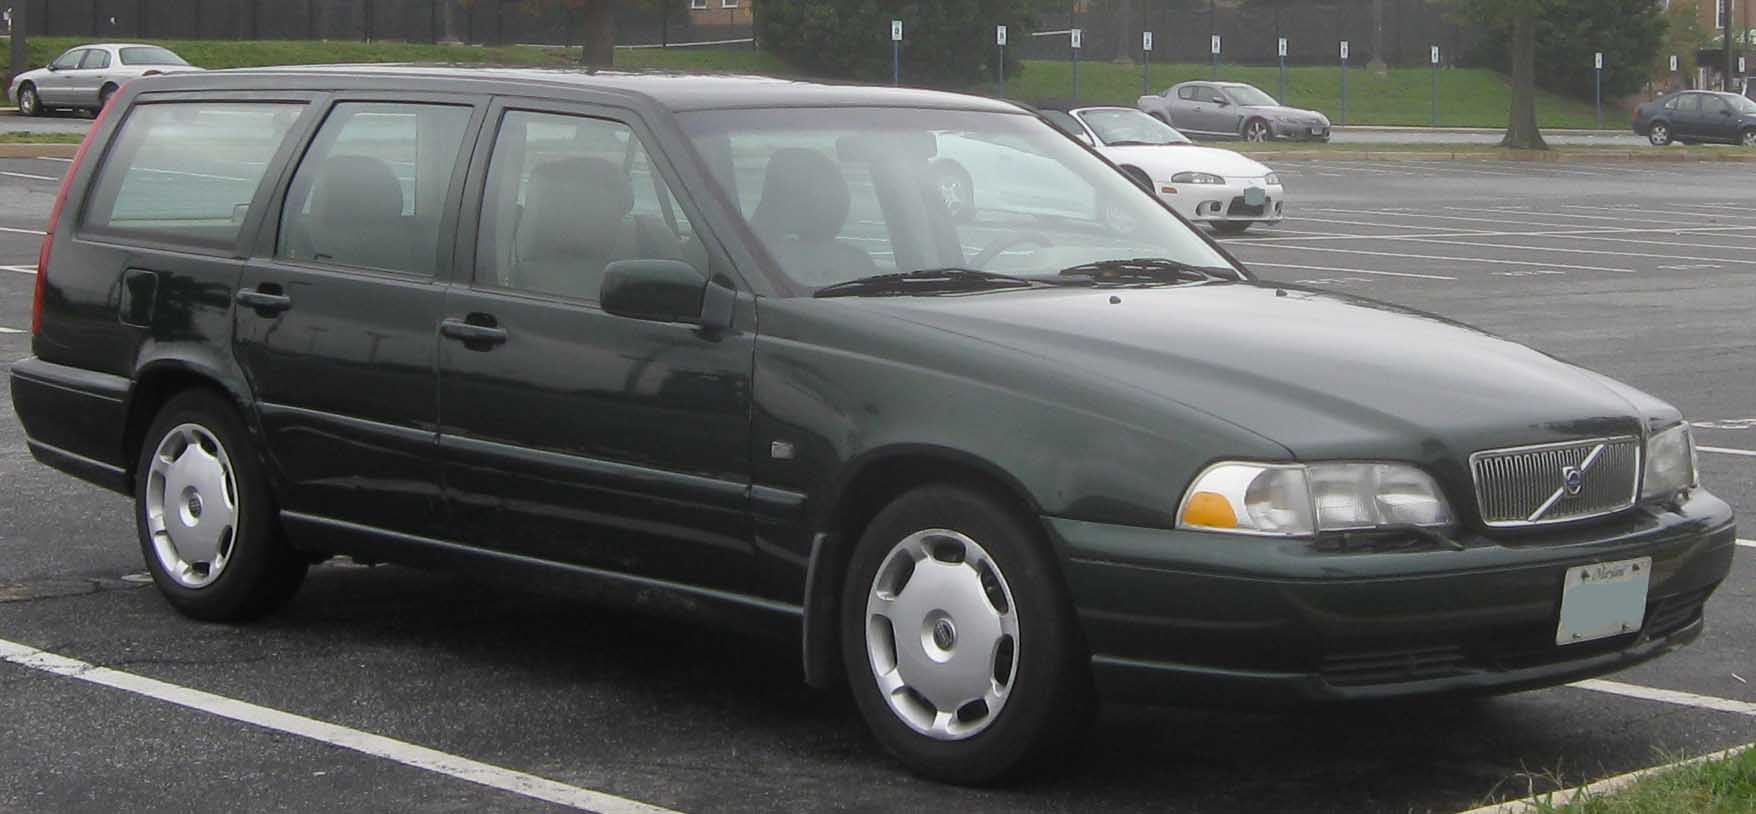
How to Change the Front Rotors and Pads on a Volvo V70

Like the satisfaction of doing your own work. Want to take on a intermediate level job on you 2000 or older Volvo? Then this is the step by step you are looking for.
Most people are very weary of doing car repairs and brakes are probably a good thing to leave to someone that is experienced. However, if you want to save some money and enjoy tinkering with your car(s), then this might be a job you can do.
I highly recommend you make sure you have thoroughly understood your own limitations before taking on this job. After all this is not something you want to make a mistake on and lose your car or worse.
Tools required:
Jack
Jack stands
Lug nut removal tool
Allen keys
Socket set
Breaker bar
Wheel stops
Large C-clamp
Work light
Long flat head screw driver
Metal pipe (for leverage)
Materials / Parts:
Front rotors
Front pads
Anti-seize grease
Cleaning solution (to remove any oils on the rotors)
Rope or thin coat hanger
Rubber gloves
Thread lock
Instructions
-
1
Start by securing the car is on a flat even surface and place the wheel stopper behind the wheels on the opposite side of the work area before loosening the wheel nuts (don’t take them all off).
-
2
Using the jack provided, raise the car on one side (Volvos are designed to lift one whole side of the car) on the jack point on the frame under the front door area of the car. Once you have enough clearance place the jack stands under the car to prevent it from falling when you are under the car.
-
3
Now remove the rest of the wheel lug nuts and place in a small container to keep them contained.
-
4
Now remove the front wheel and place away from the car so you have enough room to work around the front wheel.
-
5
Reaching back around the back of the caliper (there are 2 plastic caps that cover the hex bolts that hold the caliper to the rotor) remove the caps.
-
6
Using the Allen key unscrew the top and bottom bolts (you may have to use the metal pipe over the Allen key to get extra leverage they are hard to loosen)
-
7
After removing these 2 bolts, use the long flat screw driver to push the brake cylinder away from the rotor. This will loosen the caliper from the rotor and can be lifted away from the rotor.
-
8
Very carefully hand the caliper onto the spring above the rotor using the rope or hanger.
-
9
Using the socket set remove the 2 bolts holding the bracket that the caliper wad bolted to. Again you will probably need extra leverage so use the breaker bar of the metal pipe on top of the socket handle.
-
10
One you’ve removed the bracket, there may be a small pin holding the rotor to the wheel hub. Unscrew it and the rotor should come right off. If it doesn’t come off (usually due to rust between the hub and rotor) you may have to hit it with a hammer to dislodge it from the hub.
-
11
Clean the new rotor of any oils and add some anti seize grease to prevent it from stick to the hub.
-
12
Place the rotor onto the wheel hub and screw the guide pin back in.
-
13
Apply some thread lock onto the bolts for the caliper bracket and secure the bracket back onto the rotor.
-
14
Now carefully untie the caliper from the spring and check it for any major cracks of cuts in the brake line. If there are any replace the brake lines.
-
15
Using the large screw driver remove the brake pad from the caliper and discard. Careful not to breathe in the break dust.
-
16
Using the C-clamp slowly push the cylinder all the way back into its socket. This will give to the clearance you need to put the new pads in and get the whole thing around the rotor.
-
17
Apply the anti-seize grease to the back of the new pads and place them back into the caliper
-
18
Now put the caliper onto the rotor and screw in the 2 bolts using the Allen key. Don’t forget to put the plastic caps back on as well to keep the dirt away from those 2 bolts.
-
19
Next put the wheel back on making sure to use the guide pin to assist with the wheel.
-
20
Finally put all the lug nuts back on by hand and then tighten in a star pattern.


