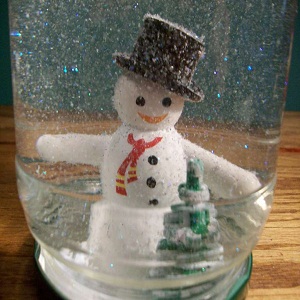
How to Make a Snow Globe With a Jar
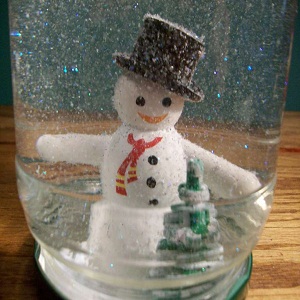
Snow globes are fascinating pieces of art. They look great when placed as decoration around the house and you feel as if another world exists inside the globe where it is snowing. However, you do not have to spend a hefty amount to buy them. If you have some time to spare and a glass jar lying around, you can make your own snow globe using primary artistic skills. The project can be as simple as placing one figurine inside it or creating a whole scenery by using your imagination. Let the artist out and put it to use. Our step by step guide has the details for you.
Things you need: glass jar, figurines, glitter, distilled water, glycerin, enamel paint
Instructions
-
1
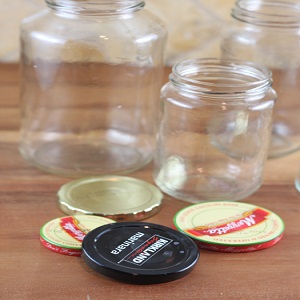
Wash the jar well and dry it. Take the lid off. Paint the lid with enamel paints if you believe the present one does not go with the effect. Let it dry.
-
2
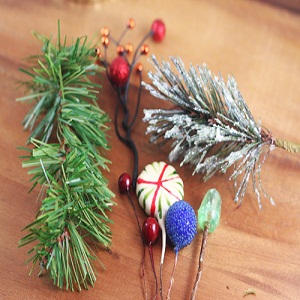
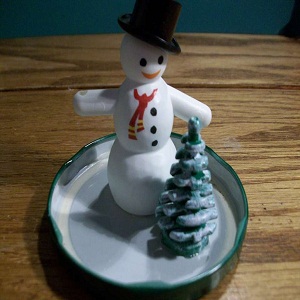
Search for figurines that you can place inside the jar. Since it is a snow globe, look for stuff that complement it like snowman, santaclause and his sledge, snow dear, a hut or a Christmas tree. We have used a snowman here. Avoid using metal objects as they are prone to rust. Plastic and ceramic will do.
-
3
Use a sand paper to rough up the interior of the bottle lid so that the figurines stick to it strongly. Attach the figurines to the lid using super glue. Let it dry well before proceeding.
-
4
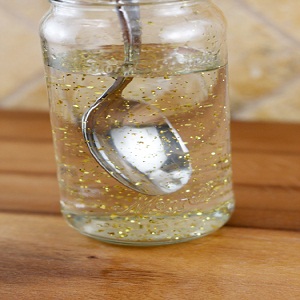
Fill your bottle with distilled water and add the glitter to it. Use the glitter generously. Add some glycerin because it makes the glitter settles down slower than water and creates that slow motion effect.
-
5
Put the lid back with the figurine in the water. Close the lid tightly. The snow globe is ready to make your children jump with excitement.
