How to Make Survival Food Bars
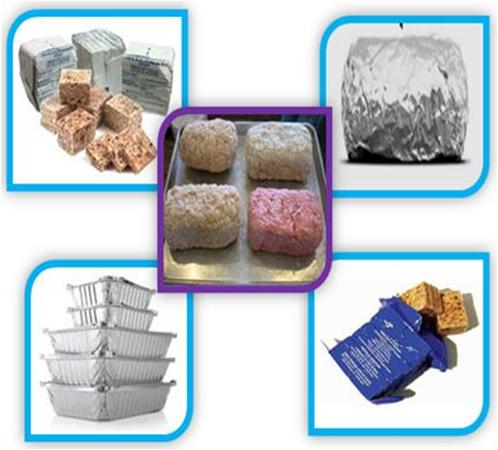
Unfortunate tragedies can strike without any prior notice and it is really important to make the basic arrangements in order to ensure your survival through the initial dangers. So, it is always better to have pre-planning in order to handle any sort of unexpected occurrence.
Make your own emergency kit to use in case of crisis and do not forget to place some survival food bars in it as it is one among the essential necessities to live to tell the tale. You might be thinking that the emergencies are so rare then what about your preserved survival food bars? Do not worry at all as you can also take them to your outdoor activities like picnic, hiking trip etc and can use them to serve your unanticipated guests as well. Isn’t it a superb idea to get the best of single food idea?
You can find variety of ready-to-use survival food bars in your nearest grocery store but making your own survival food bars at home from the goods in your food storage is a simple and cost-effective process. Given below is a simple process of making some delicious and high energy Survival food bars at home:
Preparation time: 15 minutes
Cook time: 30 minutes
Serving size: 2
Utensils needed: Saucepan, Rolling pin, Mixing bowl, Wrapping sheet or Aluminum foil, Oven, Baking Tray, Wax sheet, Wooden ladle
Ingredients:
– 2 cups oats
– 2 ½ cups powdered milk
– 1 cup sugar
– 3 tablespoons honey
– 3-oz. packet jello, orange or lemon
– 3 tablespoons water
Instructions
-
1
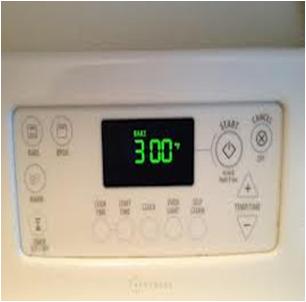
First of all pre-heat your oven, setting it 300 degrees Fahrenheit (°F).
-
2
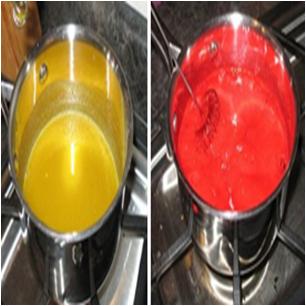
Now, grab a small non-sticking sauce pan and pour in 3 tablespoons of water, 3 tablespoons of pure honey and 3-oz. packet jello - orange or lemon.
-
3
Set the saucepan on stove with medium heat and use a wooden ladle to stir the mixture until all of the ingredients mix up well.
-
4
Turn off the heat of the stove and let the mixture simmer until your mix the other ingredients.
-
5
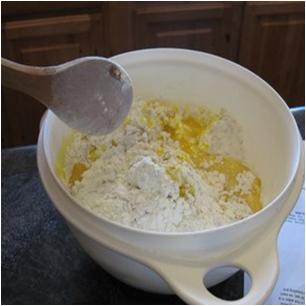
In the meantime, add 2 cups of oats, 2 ½ cups of powdered milk and 1 cup of sugar into a mixing bowl. Use a medium ladle or your hand to mix these ingredients. Now, top these ingredients with the recently prepared mixture and beat up until it forms a thick but smooth batter.
-
6
Knead the batter smoothly for few more seconds to thoroughly incorporate the ingredients. Set the batter aside for few minutes.
Note: You can add in some more water if you feel like the batter is too dry.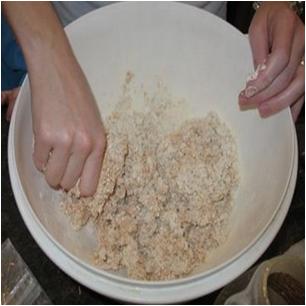
-
7
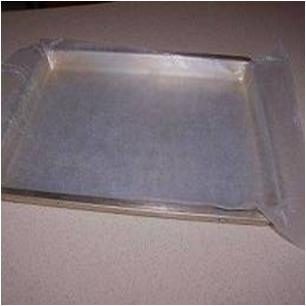
Take advantage of the available time and line the baking tray with wax sheet.
-
8
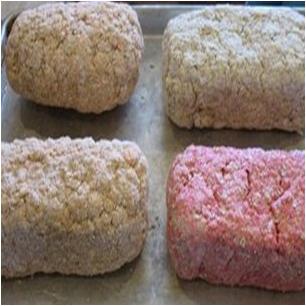
Now, flour your work surface and place the batter in it. Divide it into four equal halves and form four loaves, using a rolling pin or your hands.
-
9
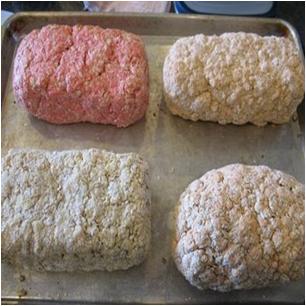
Place the loaves in the pre-lined baking tray and set it in your pre-heated oven. Bake the loaves for just about 25 to 30 minutes or until both of them are well dry.
-
10
Turn off the heat of your oven, carefully remove the baking tray and place it on your kitchen’s counter. Leave the loaves for few minutes until they are thoroughly cool.
-
11
Now, wrap each of the bread loaf with a plastic wrapping sheet or aluminum foil and preserve them in your refrigerator.


