How to Install Kitchen Wall Cabinets
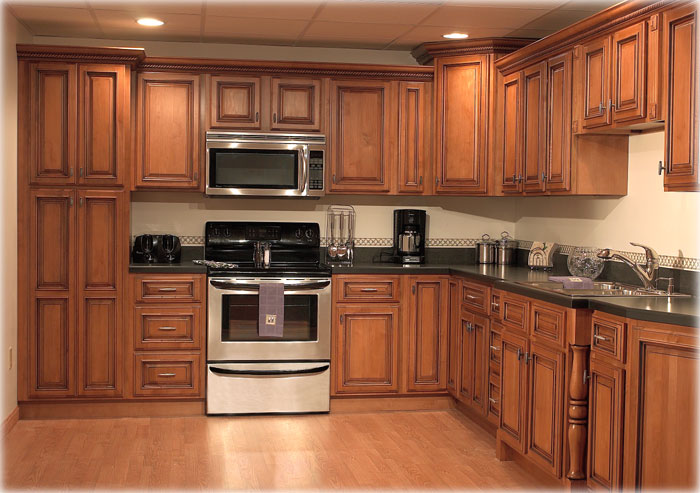
There are times when things start getting out of order and you see them lying here and there in your kitchen. The time has come when you need to shut that clutter up into the wall cabinets. Installing a cabinets on your kitchen wall does not mean to spend a lot of money. It’s nothing difficult as you can do it yourself by using your will power. This guide will briefly explain how to install the cabinets on your kitchen wall.
Supplies and Materials:
– Wooden Boards
– Nails
– Drilling Gun
– Measuring Tape
– Foot Ruler
– Pencil
– Note Pad
– Saw Machine
– Door Knob
Instructions
-
1
Measuring dimensions:
First of all identify the area in your kitchen where you want to install the cabinets. Remember to choose that area in the kitchen which can easily take up the space of the cabinets. Once you have identified the area, measure dimensions in length, width and height. Note these measurements down.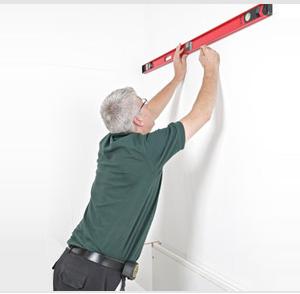
-
2
Drafting before crafting:
Now think about how you want the cabinets to look like and where and how it should be installed. Then evolve your plan into a clear architecture. Making a draft this way, will not only let you know the amount of things needed but will also let you adjust the measurements before directly cutting down the wooden boards. Your plan must include the doors, the side panels, the shelves, the back panels, the points where these panels are going to be assembled, the 1x2 strips for support and finally the points where the cabinet is going to be installed on the wall.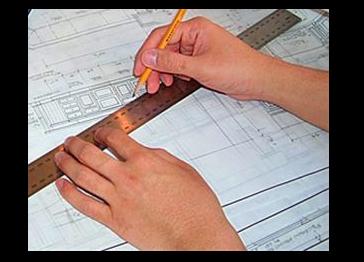
-
3
Cutting :
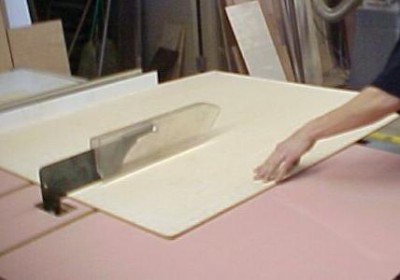
After evolving the plan several times you now have a comprehensive sketch of installing the cabinet on the kitchen wall. This is the right stage at which you can actually cut down the wooden boards according to the measurements taken.
In order to cut down the wooden boards, first mark the points where you will apply the saw. Now as you finish marking all the points, check your measurements again. With the help of a foot ruler join the marked points into straight lines. Make sure the lines are in right alignment. After this, apply the saw and cut the wooden boards accordingly.
-
4
Assembling:
Now assemble all the wooden pieces together into the final cabinet. Don’t forget to refer to the draft. In order to assemble the panels into one unit, you will have to first take the base panel and nail the two side panels on it. Make sure that they are rightly aligned with each other or else apply the saw to bring them in line. Now working in the same manner, nail the top panel on it and don’t forget to perform the alignment check.
Now you have installed all the panels together, it's time to assemble the door. For this you will first have to install the door knobs. This requires marking adjacent points on the door and on the cabinet panel. Now drill the holes on the marked points and nail the door knob and the striker plate. The door is now ready to be installed. In order to attach the door, mark the points on the door and on the cabinet panel keeping in view the alignment check. Using a drill machine, make holes in the cabinet as well as in the door and once again check the alignment. Nail the hinges on the marked panels on the cabinet. Similarly nail the other side of the hinges on the door. The door is now installed.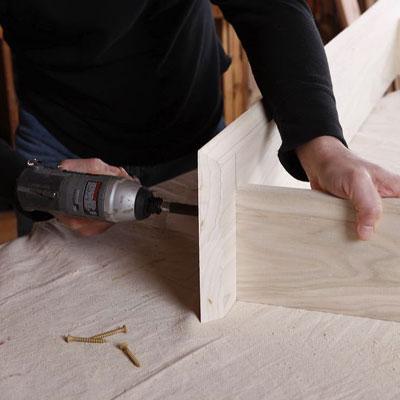
-
5
Installing the Cabinet:
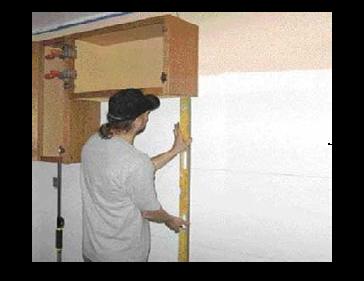
Keeping in view the draft, mark the points on the wall where the cabinets are going to be installed. Don’t forget to check the alignment. Now with the help of drill machine, make holes on the points marked. Nail the wall bracket strips on the wall where the cabinets are going to be installed.
Now in order to hang the cabinet, mark points on the back panel of the cabinet and drill holes on those points to nail the 1x2 strips for support. Now that the support strips are nailed, mark the points on the wall and nail the wall brackets. Once the wall brackets are nailed on the wall, its time to finally install the cabinet on the brackets. As you are installing, don't forget to perform the alignment check.