How to Install a Security Storm Door

Security storm doors come with two benefits for the home owners. The first being that they are one of the best ways to reduce your cooling and heating bills. They provide an extra layer of insulation to the entry point of the room and thus reduce the exchange of air through it. Secondly they enhance the home security by providing another barrier to entry for intruders. Security storm doors come in kits that have pre-hung doors and any other hardware needed to install it. This is a job you can do yourself in a few hours by following the manufacturer’s instructions. We have the entire process written down for you.
Things you need:
– Security storm door with installation hardware
– Masking tape
– Pencil
– Tape measure
– Electric drill and bits
– Hacksaw
– Pliers
– Wood chisel
Instructions
-
1
Measurements:
You need to measure your door frame before ordering or getting a storm door. Measure the height of your door. Take the width from three different positions, the top, middle and bottom of the door. Make a template and take it with you to the hardware store. Buy a door of any style that fits these measurements. If you have a door frame that has different dimensions than a standard door, you will have to order a custom made storm door.
Once you get the storm door kit, open up the parts and the instruction manual. go through the manual and familiarize yourself with the parts and their use. This will help you understand the process well.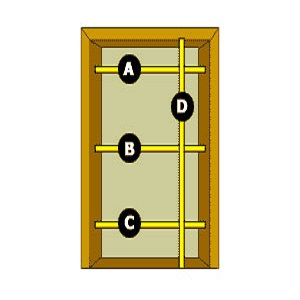
-
2
Cut to fit:
The storm door can be installed for both a left swing and a right one. However, it is better to have the storm door handle on the same side as the handle on the door behind it. The hinges of the new door should obviously be on the same side as the existing door.
The first step after getting the door is to mark the length of the hinge frame . Mark a point length 1/8" less than that of the door frame opening. Use a hacksaw now to cut this length.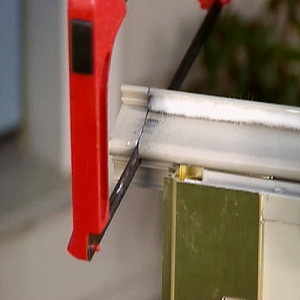
-
3
Attach the hinges:
Place the door against the door frame. Fit it snugly in the opening and screw the hinge to the jamb. If your hinge does not come with pre-drilled holes, you will have to make them yourself. Drill pilot holes as per screws, adjust the hinge over them and screw them. Check the fit of the door by opening and closing it.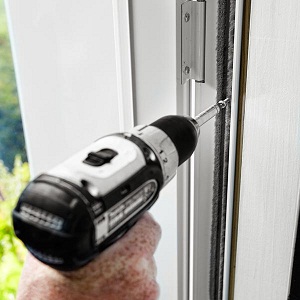
-
4
Bottom expander and sweeper:
Take off the bottom expander off the door. Slide the vinyl door sweep now to the bottom of the door using the screws. Cut off any excess sweep. Reattach the expander with the given screws and fit it to the desired length of the door.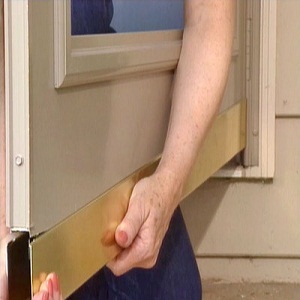
-
5
Install the latch:
The latch system varies for different styles. Use the manufacturer's instructions to drill latch holes and assemble the latch. Some doors come with dead-bolt locks.
-
6
Finishing up:
Use the instructor's manual to install the striker plate and door closer if necessary. These parts vary greatly for different designs.