How to Edge a Garden Bed

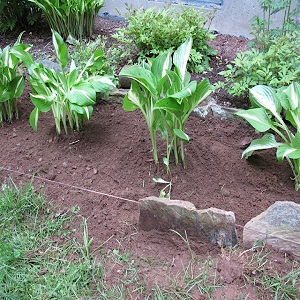
Edging a garden bed gives it a neat look by keeping the soil inside and maintaining the shape. An edged garden bed has an accentuated regular shape and increase the visual appeal of the bed. If you want to bring some regularity into your garden, buy any edging material and set to install it. This do it yourself project is fun and easy. At the end of it you will proudly looking at garden bed nestled in a wonderful edge. Our step by step guide discusses the project in detail.
Things required:
– Square shovel
– Rubber mallet
– Edging materials such as blocks, bricks or metal edging for curves
– Garden hose or paint
– Coarse sand
Instructions
-
1
Choose the edging material:
The edging material could be stones, rocks, bricks, block and metal. Metal is best for garden beds with curves because it can be bent easily. The other types however bring a more natural texture. Concrete and brick edgings give out a rugged look that mingles with the garden.

-
2
Outline and dig edging:
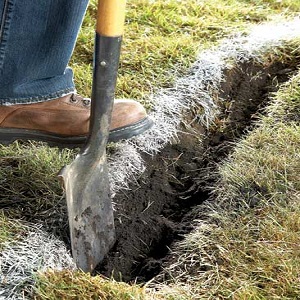
Use your garden hose , string or paint to outline the area you want to edge. This will typically go around your garden bed. Dig out the outline using a shovel. The depth of the trench you dig should be according to the edging material you have chosen
-
3
Sand:
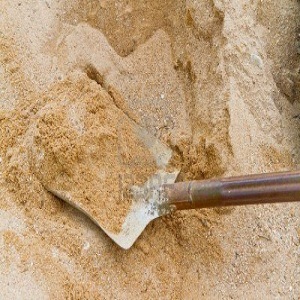
Apply a layer of sand in the trench. The sand fills gaps between edging units and makes sure that they fit snugly apart from providing a strong base. Spread the sand evenly across the length of the trench.

-
4
Edge:
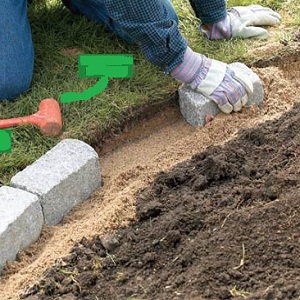
Lay down the edging material that you have. Anything that you install be it bricks should be even. If a brick is too low, put sand underneath it to raise level. For higher bricks, use a rubber mallet to tap them down. Once you have covered the entirety of the trench, apply another layer of sand and use a broom to spread it over the edging. The sand will fall into spaces and cover up any gaps.


