How to Replace a Patio Door Screen
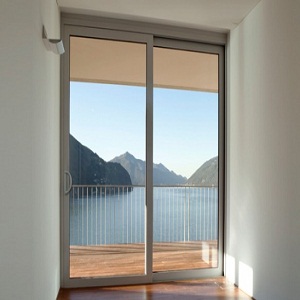
Screen doors are popular choices for patios and have their own grace and standing. They let the light and air pass through while creating a strong physical barrier at the same time. The screens are durable and serve for ages. However, like any other thing exposed to elements, they wear down with time. Your patio screen might need replacement if it is showing visible signs of wear and tear like holes. However, you do not have to replace the entire door. You can just replace the screen and get yourself an amazing new looking screen door. Get working with our step by step guide.
Things Required:
– Roll of patio screening
– Screen roller
– Screwdriver
– Spline
Instructions
-
1
Remove Door:
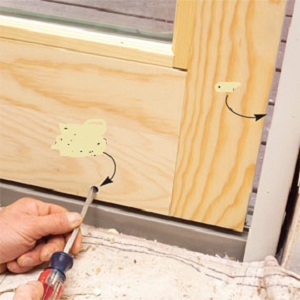
Screen doors are held on tracks by two screws at each end, both on the bottom track and the top track. Use a screwdriver to open up these screws by moving them in an anti clockwise manner. The door will come off loose. Lift the bottom part first from the tracks and then the top part. Place the door on a flat surface and get working.
-
2
Remove Screen:
Now is the time to remove the screen. It is held to the door frame with a black rubber like material called 'spline'. Observe the run of the spline and locate the break in it. Manipulate this break using a utility knife and lift it from the frame. When you remove the spline, the screen will come off very easily.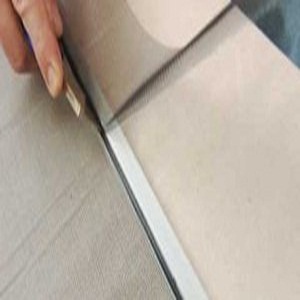
-
3
Install New Screen:
Screens come in rolls of sheet. Get an approximate piece of sheet for your door, which can be larger than it in all dimensions but should never be smaller. Place the screen on the door. Use a screen roller to place the screen into the grooves in the frame. Start laying the spline, connecting both of them. The spline should cover the grooves snugly.
After you are done, use a razor or utility knife to carefully cut off the excess screen.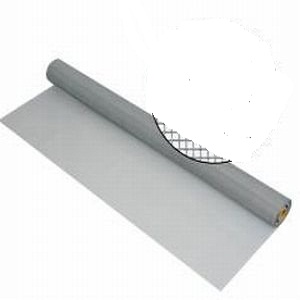
-
4
Install Door:
Your door has a new screen. Proudly install it back. Place it back on the tracks, first the top part and then the bottom part. Use a screwdriver to secure the screws in a clockwise direction.