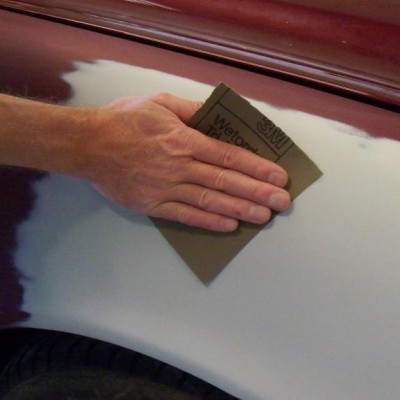
How to Repair a Dent in Your Car
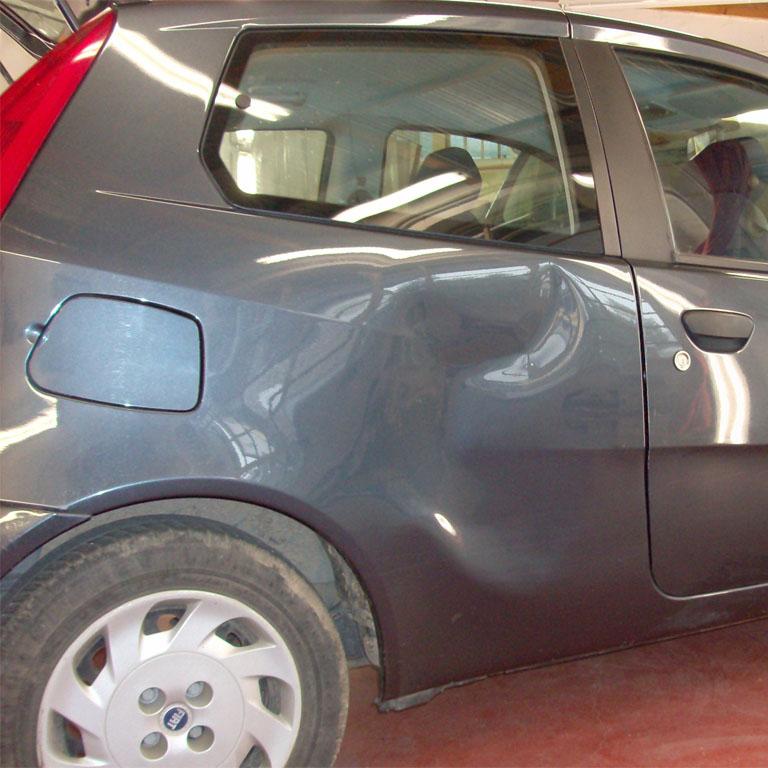
Some car dents are too small to take the car to a workshop. Still, no one likes seeing dents on their car, no matter how small or big the dents are.
Getting rid of a car dent yourself can be a tricky thing because you may end up spoiling things instead of improving them. Body filler, commonly known as Bondo, is one of the best materials that can be used to get rid of a car dent. But it is tricky to work with because it when ready, Bondo dries off very quickly.
Things Required:
– 150, 220 and 400-grit Sandpaper
– Body filler (Bondo)
– Masking tape
– Paper Sheets
– Automotive primer
– Rigid plastic spreader
Instructions
-
1
Remove all the paint from and around the dent area using the 150-grit sandpaper. Sand off the paint until you can see bare metal. You may use a grinder for this purpose if necessary.
Image courtesy: autopia-carcare.com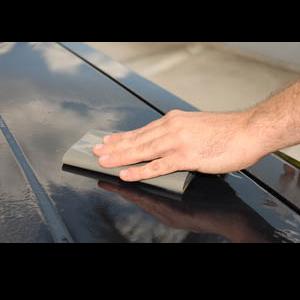
-
2
Now prepare the body filler. Mix the hardener to the base filler using a rigid plastic spreader on a flat surface. Remember to read the instructions listed on the can. Also, once the body filler is ready, you have little working time because it will harden very quickly, so you will have to work fast from here on.
Image courtesy: article.wn.com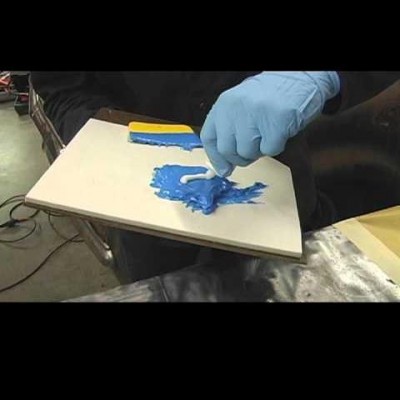
-
3
Spread the filler in and at least three inches around the dent area. Wait for the filler to completely harden.
Image courtesy: mig-welding.co.uk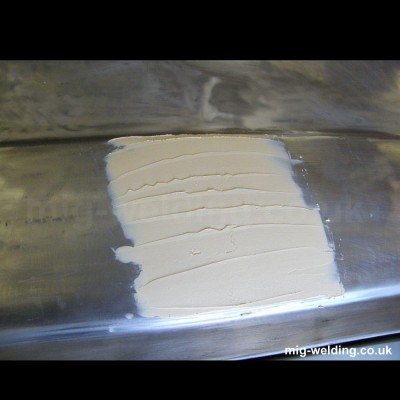
-
4
When the filler is completely hardened, start sanding the filler using 150-grit sandpaper. Sand the filler using broad circular strokes. Switch to 220-grit sandpaper when the filler is nearly smooth and continue to sand until it is completely smooth.
Image courtesy: autorepair.about.com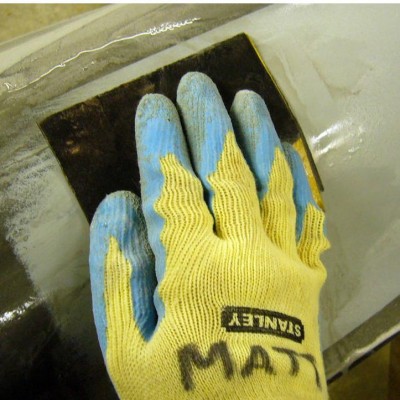
-
5
Using masking tape and paper sheets, you need to mask off the area immediately surrounding the area that area on which you applied the body filler.
-
6
Now spray the filled area with automotive primer. Spray a light coat of primer and let it dry. Then spray two more light coats, letting the first one dry before you spray the other one. The masking tape that you applied in the previous step will avoid the primer from being sprayed on undesired areas.
Image courtesy: carcraft.com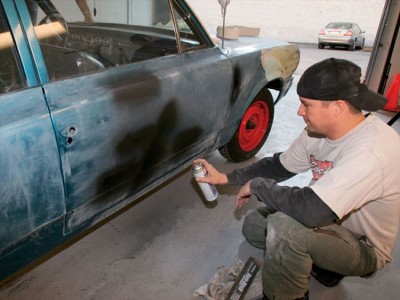
-
7
When the primer coat is completely dry, remove the masking tape and paper. Wet the repair area using with water. You can use a spray bottle for the purpose. Also wet the 400-grit sandpaper and using it, sand the primer in a straight back and forth motion. Be careful not to sand off too much primer. Sand the primer until it is smooth and your repair work is complete, except painting the repaired area of course.
Image courtesy: langstaffclassics.co.uk