How To Create a Hair Bump Accessory

It is good to make a bumpy hair style but to set it on head and maintain it until the end of the party or any function is really difficult. For this purpose you can create your own bump accessory which will easily stay on your head and not ruin your hair style at any moment. You can buy an accessory called “bumpits”, but they are teethy and get fixed in your scalp to irritate you extremely. It is better to create one for yourself.
Things Required
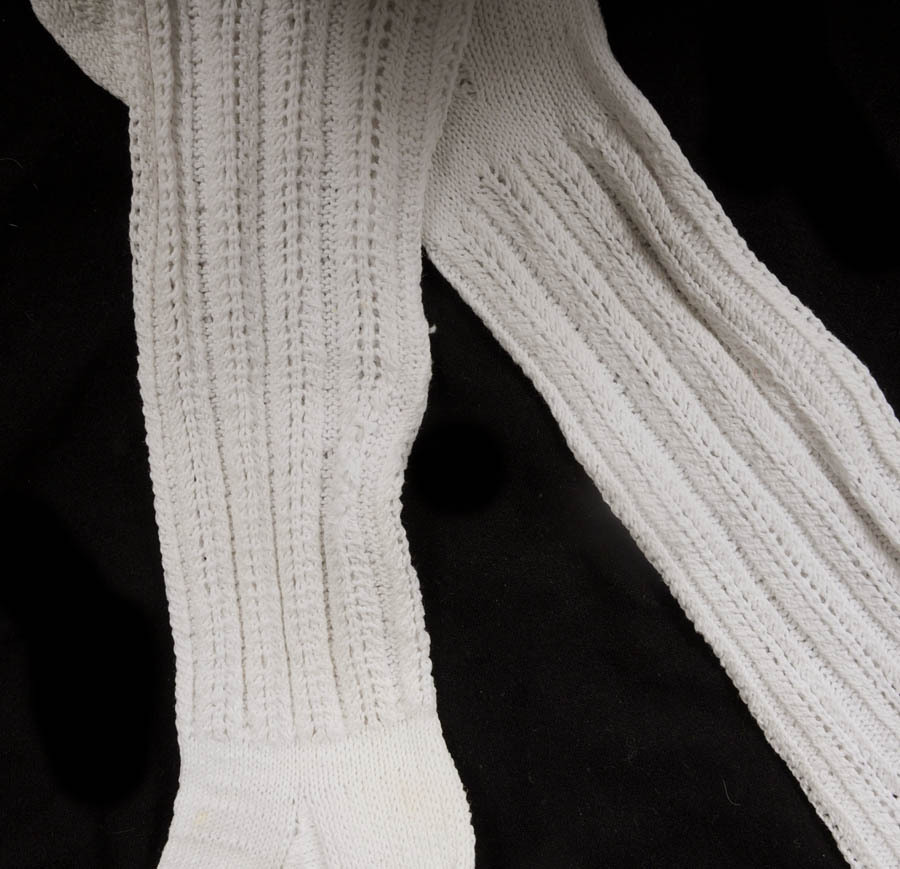
– A pair of stockings
– Bobby pins
– Rat-tail comb
– Hair spray
– Hair clips
Instructions
-
1
Using stockings as your hair bump can be the easiest way to do it, you just have to roll on the stockings in cylindrical form starting from toe and end it where you think it is the limit of the size of your bump. Considering your bump length you can make as many rolls that can easily fit into it. Cut off the left part of the stockings.
Image Courtesy: rubylane.com
-
2
Wash your hair with shampoo, apply conditioner and then rinse thoroughly. Blow dry and untangle your hair by combing it. By using rat-tail comb make two sections of your hair starting from the front in temple to temple form.
Image Courtesy: divashairanddayspa.com
-
3
Hold front section of the hair with one hand and comb smoothly on the other one. Place the cylindrical bump of stockings in the center and then adjust and secure it with the help of bobby pins. Make sure that it stands properly by just moving your head a little to and fro.
Image Courtesy: aliexpress.com
-
4
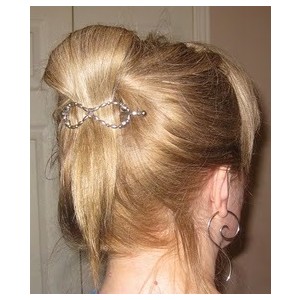
Set the front section of the hair on the bump appropriately, so that you cannot find the stocking when you look at your hair. Use fancy hair pins, ponytails or any other accessory to tie your hair down the bump. Now it is up to you whether you leave your hair loose, make braid or try some other hairstyle to go with it. When you finish up your hairdo, spray it all over to get it set and shine. Look in the mirror to make the final touches on your hair.
Image Courtesy: polyvore.com


