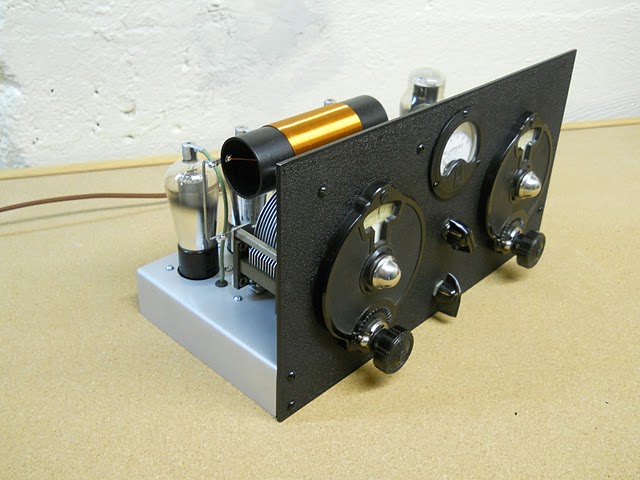
How to Make a Simple Radio Transmitter

A radio transmitter is an electronic device which transmits radio waves from one place to another using air as a medium. The actual transmission is done by the antenna, which spreads or propagates the radio waves in the air. Transmitter generates a specific radio frequency which is transferred to the antenna with the help of a wire. The antenna amplifies the signal and sends it towards the destination in the form of radio waves. These radio waves have a specific frequency and the receiver wishing to receive the signal has to be tuned with the same frequency in order to catch the signal.
Transmitters are an important component in many electronic devices like cell phones, radios, and wireless computer networks commonly known as WI-FI. They also find their purpose in defence grade products such as radars; which employ a strong transmitter at their base station.
Making a radio transmitter is a wonderful learning experience for tech lovers. Homemade radio transmitters can be used in the bad weather to transfer audio from a music player to a radio or to transmit a radio broadcast in your neighborhood. In emergency situations, a radio transmitter can be used to send a S.O.S signal for help.
Instructions
-
1
A transmitter runs on DC (Direct Current) where as the electric supply present in our homes and offices is AC (Alternating Current). So first of all an AC to DC converter will be needed for the project. This can be done by building a rectifier or a convertor circuit. Use a step down transformer to convert the voltage to 50 Volts AC. Connect both ends of the step down with diodes and manage the load parallel to the diodes.
-
2
Calculate the required value of the capacitor to be attached in parallel with the load. If you want to avoid this first step you can always use a fabricated DC power supply to get the DC voltage directly.
-
3
The oscillator needs to be designed on paper before trying out anything. It consists of a small resistance connected in series with a capacitance. It produces oscillations and waves when alternating current is supplied to it, and an RC circuit primarily acts as a low pass filter.
-
4
Solder the copper wire with the ends of the oscillator or design a circuit board for this mini project. The oscillator runs on alternating current, but the circuit board overrides those waves with a signal which may be coming from any type of source.
-
5
For connecting a microphone with your PCB (Printed Circuit Board), buy a voice sensor from a nearby electronic store and interface it with the circuit board. The oscillator will need to be attached to an antenna to increase the range of the transmitter.


