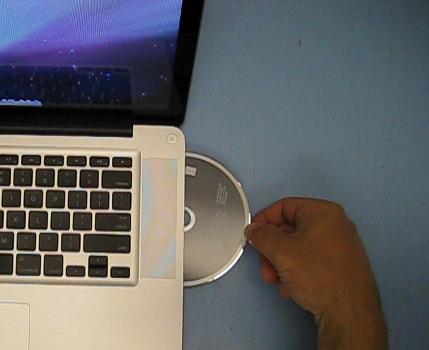
How to Eject a CD From a Mac

Since Windows PCs are much more common than Apple’s MacBook, also known as simply Mac, a lot of people using the latter for the first time find themselves clueless when it comes to ejecting a CD from the drive. Unlike the Windows PC that have an evident eject button on the drive, the drives installed on Macs do not have an eject button on them, which results in the confusion for the new users. Even though a Mac’s drive is different from a Windows PC’s, ejecting a CD is just as easy.
Instructions
-
1
You can eject a CD from a Mac using the keyboard. All Apple keyboards come with an eject key on them. Locate the key, usually found in the top right corner of the keyboard right next to the “F12” key and press it to eject the CD from the drive.
-
2
If you cannot find the eject button on your Apple keyboard, you can alternatively eject the CD from the drive by pressing and holding the “F12” button. The CD may take a few seconds before getting ejected from the drive.
-
3
Aside from the keyboard buttons, you can also eject a CD from a Mac from the desktop. In order to do that, you need to first locate the CD icon on your desktop.
-
4
Once you find it, left-click it to select it. Then press right-click to open the drop-down menu. You will see a number of options in the menu. Look for “Eject” in there and click it to eject the CD from the Mac.
-
5
Alternatively, you can also eject the CD from the Mac by dragging and dropping the CD icon located on the desktop to the Trash.
-
6
You can also eject the CD from the Mac’s drive by holding down the track-pad button while the Mac is booting.
-
7
If all else fails, power up your Mac and leave it alone for about ten to fifteen minutes. Do not even log in. After ten to fifteen minutes, the Mac will boot up and will automatically eject the disc without you having to do anything.


