How to Make a Foam Leaf Valance

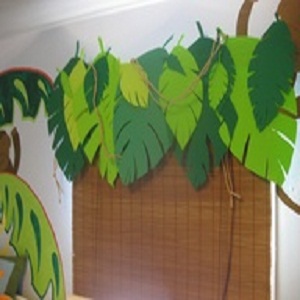
Bring out the creative soul in you and dress up your window. No, do not look at ready made options when you have a superb mind of your own and help from us. You can easily create a valance for your windows using foam which is not only easy to work with but is also an inexpensive option. Foams are available in different colors and can be cut into desired shapes very easily. We are making leaf form valance for windows in our step by step guide below. You can place it in your kid’s room, in the kitchen or anywhere else according to the theme. The project is a do-it-yourself one and will not take more than a spare evening of dedicated work. Invite the children to help you to make the activity an interesting and learning one. Lets get started.
Things required:
– Sheets of paper to make patterns
– 9 by 12-inch craft foam sheets in any shade of green
– Hot glue
– Hot glue gun
– Scissors
– Pen
– Brown or black cord
Instructions
-
1
Measurement:
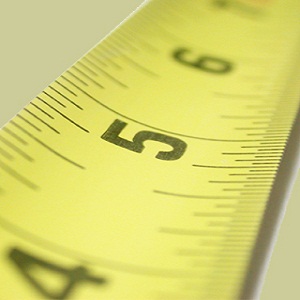
Measure the length of valance that you want to cover. Now decide the number and size of leaves you want to cover this length. You can also use two different shades of green (light and dark). Use one shade for larger leaves and another for smaller ones. The small ones can cover up the gaps left by the large leaves so that there is a filling effect.
Image Courtesy:outdoorfabricguru.com
-
2
Paper patterns:
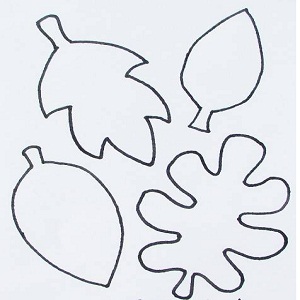
Now that you have decided the size and number of leaves, use the paper sheets to make leaf patterns. Use a pencil so that you can edit the patterns to have perfect leaf shapes. Cut out these paper patterns.
You will need two paper patterns; one for the large leaves and one for the small leaves. These two patterns can be used to cut multiple foam leaves.
Image Courtesy:scrapbooking.about.com
-
3
Cut foam:
Place the paper patterns you made in the previous step over the foam sheet. Use the scissors to cut out the leaf forms from the foam. Take the valance rod off and place it on a flat surface like a table you can work on. Practice the pattern you want to create without glue until you are sure about the permanent look. Attach the leaves to the rod using the hot glue. To give a more realistic picture, wind the rod around the leaves to create an impression of twines and stems. Put the rod back on and it is all set.
Image Courtesy: creativekristi.com


