How to Create Moulding on a Radial Arm Saw

In modern days, machines have taken over manual work in most aspects of life. Same is the case if you are a carpenter looking to create moulding. A few decades ago, you would have had to do a lot of manual work using a simple reciprocating saw which of course would have taken up a lot of time and energy. But today, all you need to create some of best wooden mouldings is some stock and a radial arm saw.
If you have a radial arm saw at your disposal, there is no need to spend hours sawing through stock to create a moulding. Just take a few mandatory steps and let the radial arm saw do the rest for you.
Instructions
-
1
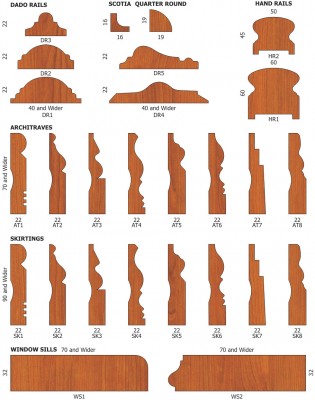
Apart from its basic use to make length cuts, a radial arm saw can be used to create moulding, provided you know the right way to do it. Decide which shape you want the moulding to be in. It can be oval, square, oblong or any shape of your liking.
Image Courtesy: kparkerjoinery.co.za

-
2
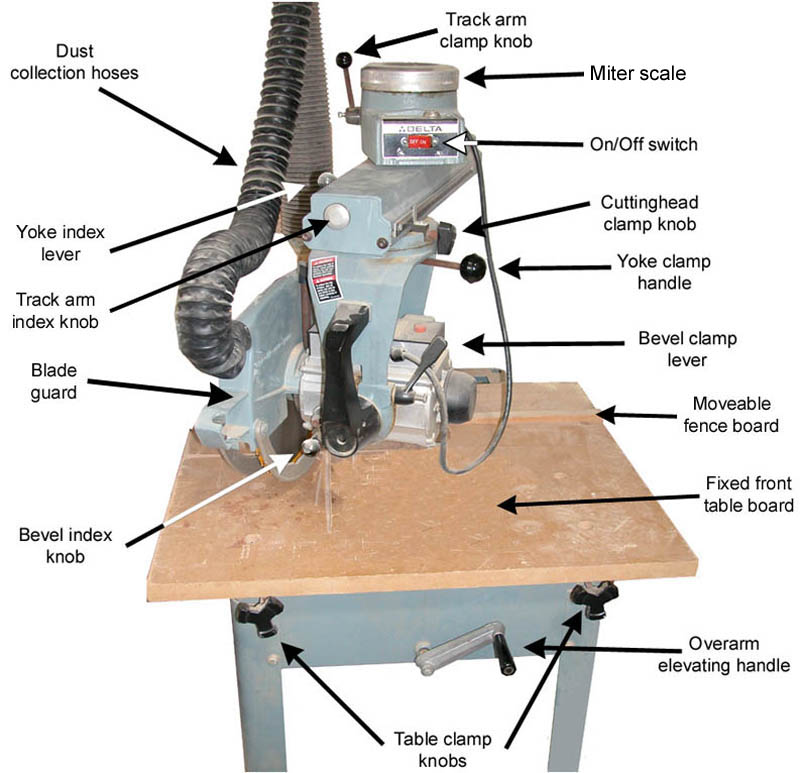
Now you need to angle the radial arm saw blade so that it can make cove cuts. Carefully, rotate the blade and bring it to the desired angle. Since it is cove cuts the saw is supposed to make, the angle at which you set the blade must be less than 90 degrees.
Image Courtesy: woodworkerszone.com

-
3
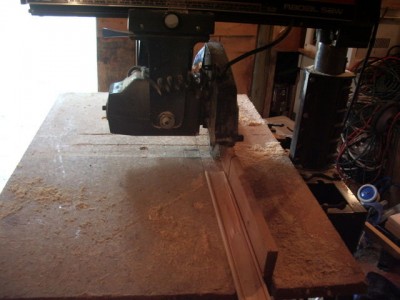
Lock the blade in place after lowering it onto the stock. Keep the stock parallel to the ripping fence and slowly run it through the saw blade. The blade angle and depth of the cove are directly related to each other. Wider the blade angle, steeper will be the cove cut.
If you want to cut compound coves, use the same technique with numerous passes.
Image Courtesy: instructables.com


