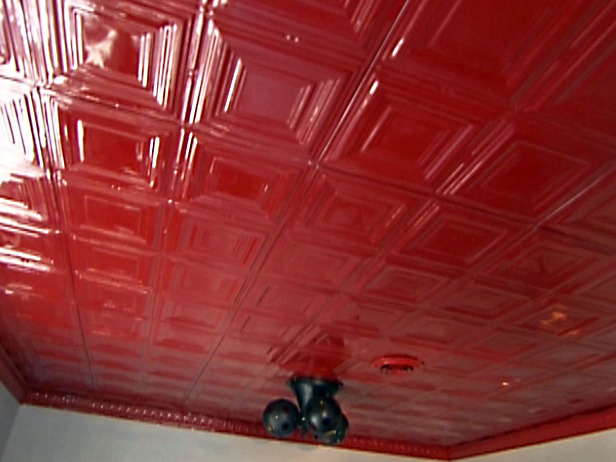
How to Install Interlocking Tin Ceiling Panels

Are you worried your roof does not look the way you want it to?
If yes, then your wall or roof is probably missing something fancy and needs to be decorated in a way that it looks both sober and eye-catching. Interlocking tin ceiling panels are a good option if you are considering decorating your wall without spending too much. They come in a wide range of varieties, but may vary when it comes to price and quality.
Hand-painted tin panels are also common and are usually coated with powder to give them a more permanent look.
Things Required:
– Drywall anchors
– Nails
– Interlocking tin ceiling panels
– Drywall screws
– Silicone adhesive
– Chalk line
– Guillotine cutter
– Pencil
– Tin snips
– Tape measure
– Hammer
– Permanent marker
– Brad nailer
– Cordless drill
– Compass
– Chisel
– Screwdriver attachment
– Rubber mallet.
Instructions
-
1
Mark the centre point by using a tape measure. Make sure that you mark the centre point in a way that it should be equal width and lengthwise. Uneven markings or lines will make the length and width go awry. Then use a chalk line to snap cross hairs and break one straight line from side to side
-
2
Now it is time to cut and shape your tin panels. After you have measured the tin, make sure it should be cut on the guillotine. If the edge is not against fence, you have probably messed up the shape of tin. You can use a suitable tin snips for cutting the tin panels. Using a larger tin snips will make the process much easier, as it levels the panel’s sides automatically.
-
3
You can now install your first piece. Make sure the side that was cut should be against the wall, or the panels will not fit, given their shape. Mark the hole on the uncut side that will meet the side of you second panel. Use the hammer to fix the drywall anchor into the marked holes and then fix them with screws.
-
4
Finish the first row in the same manner.
-
5
Now that you have successfully installed the first row of tin panels, start the second row. You can use brad nailer to join the second row to the first row and work your way out.


