How to Design a Logo in Word

Microsoft Office serves countless purposes ranging from writing every day documents to designing professional logos. Use Word to design the logo of your company yourself and save a lot of money that you would have paid to a professional logo designing otherwise. Word is simple to use which prevents confusion which normally occurs while using high-end software such as Adobe Photoshop, Corel Draw, and Illustrator.
Instructions
-
1
Logos are designed in various shapes. The first thing you need to decide is the shape in which you are going to design the logo. Under the ‘Insert’ tab, in the ‘Illustrations’ section, point to the ‘Shapes’ option. Choose the background shape. Click and drag to place and resize the background shape.
-
2
Now you need to edit the back ground shape. Click on the to display the ‘Format’ tab. Under the ‘Format’ tab, in the ‘Shape Styles’ section, point to the ‘Shape Fill’ option. Choose which colour you want to fill in the shape. You can also fill the background shape with a gradient by pointing to the ‘Gradient’ option and choosing the colour combination. In the same section, point to ‘Shape Outline’ for various formatting options related to the background shape’s outline or boundary.
-
3
Click on the ‘Insert’ tab and then point to ‘WordArt’ option in the ‘Text’ section. Select the style in which you want the logo text to be displayed. Enter text in the dialogue box which appears after you have selected the WordArt style. You can change font properties from the ‘Home’ tab.
-
4
When you are satisfied with the way the text looks, drag it in front of the background shape. Clicking on each object while holding down the ‘Ctrl’ button on your keyboard will select them. Under the ‘Format’ tab for Drawing Tools, click the ‘Group’ option in the ‘Arrange’ section to bind together the background image and the text.
-
5
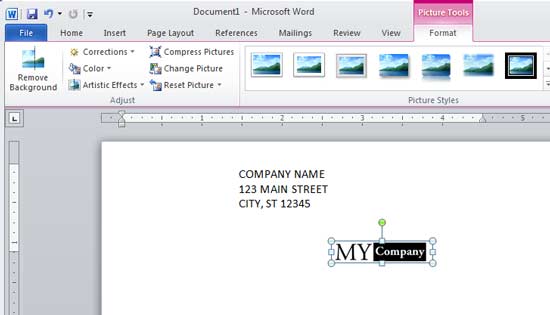
To create the logo, cut the background image and text group that you created in the earlier step by pressing ‘Ctrl-X’. Paste the logo as a picture and then right click it. Select ‘Save as Picture’ option, navigate to the location where you want to save the logo file and click ‘Save’. You have successfully designed a logo in Microsoft Office Word.


