How to Install a Truck Headlights
No matter whichever vehicle you have, its headlights must be fully functional all the times. Headlights are extremely vital for your own and others’ safety while travelling at night or inclement weather conditions. In fact, not having proper headlights is against traffic laws in most countries and it becomes mandatory for you to replace your vehicle’s headlights once they go out or get damaged. Normally, headlights will last for a couple of years before going out but like any other electric equipment, you never know when they turn off for good. You can easily replace the headlights of your truck at home and all you need are some simple tools and a new headlight.
Instructions
-
1
First of all, the old headlight assembly needs to be removed before the installation of the new one. Start up with opening the hood of your truck and prop it out.
Image Courtesy: shelf3d.com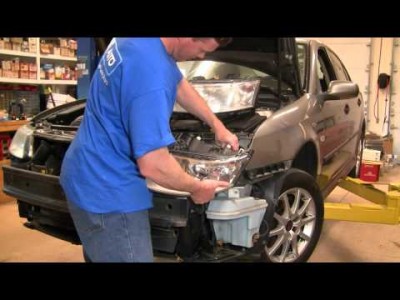
-
2
Have a look at the top of your headlight to see if there are any plastic covering or screws attached to hold the assembly intact. Remove any plastic covering carefully and a use a screwdriver with appropriate size to open up the screws present. Pull off the panel afterwards.
-
3
Two or three bolts might also be present around the headlight assembly, depending upon the model of truck you have. These bolts might have a metal retaining cover. Use a small adjustable wrench to remove the retaining and the bolts.
Image Courtesy: sevacall.com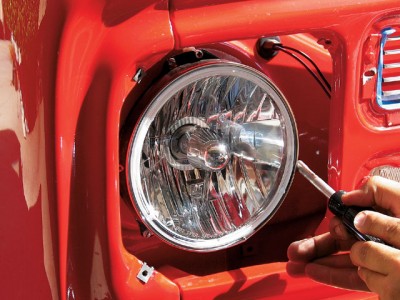
-
4
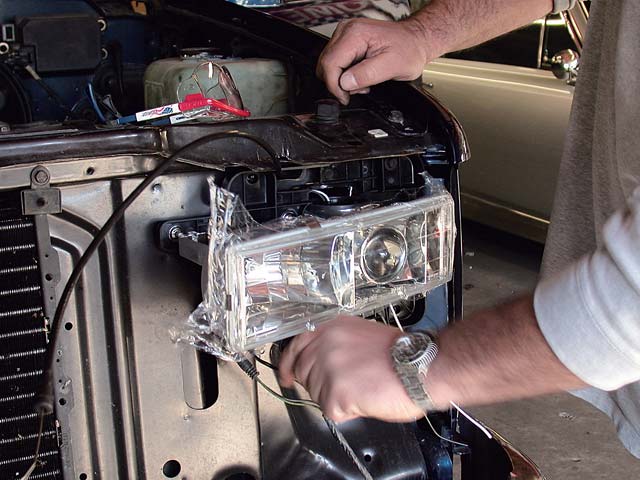
Grab the headlight assembly from the front and pull out the rear portion carefully. Don’t pull it out too far because it will be attached to wires and you might damage them in the process.
Image Courtesy: blog.modifystreet.com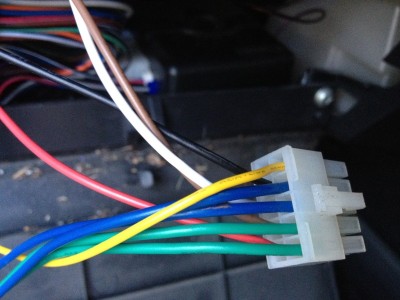
-
5
Now unplug all the wires being attached to the headlight assembly and you can do it with your bare hands easily. This will complete the removal process of old headlight assembly.
Image Courtesy: overdriveonline.com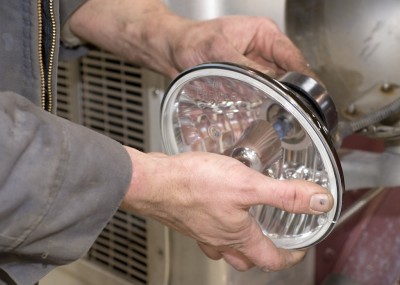
-
6
You have to affix the bulb in the new headlight assembly before installing it into its position. Pull out the rubber and plastic socket present at the rear of the assembly.
-
7
Carefully screw the new bulb into the socket on the opposite side of plastic and rubber component. Replace the socket back into the headlight assembly.
-
8
You have to put the assembly in its right place. Push it close enough to its place until you are able to connect the wires to it. Plug all the wires onto the assembly.
-
9
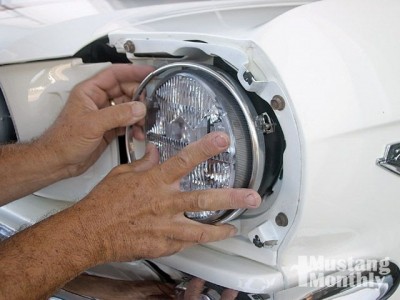
Now tighten up the bolts which you removed previously and fasten the retaining clips onto them. Repeat the process in reverse order to close the assembly with screws and plastic covering properly.
Image Courtesy: mustangmonthly.com