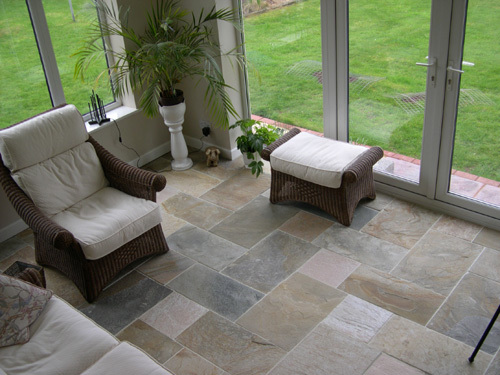
How to Install Natural Stone Tile Flooring

Natural stone floors add a touch of warmth to the entry ways or lend a graceful look to the washroom outlook. It does not matter where you wish to install it; there are plenty of stone types and colours to choose from, which can help you, select the right room to apply the flooring. They range from solid marble tiles to rough cut limestone big rectangular slabs; each of them adds a distinctive beauty to the room.
Things required:
– Natural stone (or tile)
– Hammer and chisel (for cutting flagstone)
– Tile saw (for cutting tiles)
– Grout or mortar
– Backer board
Instructions
-
1
Remove old flooring
Use a hammer and chisel to remove the previously installed flooring, may it be marble or tiles. You may use a drill machine on the corner of the tiles to separate the binding material and then remove the tiles with the help of hammer and chisel. Apply pressure on the edges, as you remove the tiles in order to break them. -
2
Remove old Thinset
You will have to remove the thinset over the surface of the concrete to get a smooth surface suitable for the installation of the new tiles. To remove it, you can use a hammer drill along the thinset. -
3
Select Stone colour and design
Research on the available store colours and designs available by visiting a local tile and marble store. You will find various types of tiles available. Price tag will range from inexpensive to super expensive. Choose the appropriate design and colour depending on the area of the flooring as your budget. Granite stones are in demand these days, they are quite hard and durable than the common lime stone, but they are difficult to cut, and sometimes break under immense stress. To cut granite, you will need diamond based tools.. -
4
Plan it out
Figure out the required number of tiles required depending on the size of the floor. Calculate the area of the floor and divide it by the area of a single tile to calculate the exact amount. Purchase 5 percent more tiles to to replace broken tiles. -
5
Apply the tiles
Purchase the mortar specially made for the type of tiles you are using. Different surfaces absorb different amounts of moisture and air, so it’s necessary to use the correct mortar or the tile may change its colour or in some extreme cases, break apart.
Lay out one tile at a time, and press them firmly to affix them solidly with the floor. Use a sealant to make the tiles water proof.


