How to Convert ITunes M4V to DVD Format

The problem with iTunes is that iTunes downloaded video files are protected with DRM protection ,preventing users from converting these downloads to other video formats such as DVD and MPEG. In order to convert such files to DVD, we first need to remove DRM protection.
You can use an online media converter which has the option of removing DRM protection. Using such converter, one can easily remove the DRM protection. All you need is a computer, basic knowledge about this stuff and a fast internet connection. Once the protection is removed, move on to convert iTunes downloads to DVD format.
Instructions
-
1
Run the media converter and click Add to import iTunes downloaded files. For the output, select DVD-Video format or you can even use custom settings for this step.
-
2
Remove the DRM protection and click start to start the conversion process. Once the process is finished, you will have the files without DRM protection.
-
3
Now run the Nero software and if you don’t have it on your computer, download it from the internet. Scroll to the option that says "make your own DVD-video” and hit return.
-
4
Go to the option tab on the right hand control panel and add the video files you want to convert. These files will be added to your iTunes video. Another thing you can do here is merging similar videos into one slideshow using the “Merge Titles” option.
-
5
After the above mentioned step, click “export” tab on the bottom panel. It will open up a new window. Mention the output file path and click “next”. This will allow you to enter the DVD setup. Once you are in the setup you can easily customize the DVD menu according to your preferences. After that, simply click “next”.
-
6
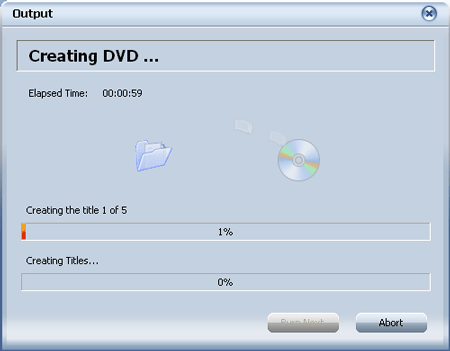
Now you will be able to preview your video file transferred to DVD format and it will also show you the menu screen and its functions. Now once again click on “next”. This will prompt you to burn the files. Start the burning process and don’t forget to adjust the burning speed. After that, click “burn” to start the process of burning iTunes video to DVD.
-
7
Now sit back and do not unplug or shutdown the computer. Wait for around half an hour or it can be more depending on the speed of your internet. Hit “finish” when burning is complete. You have now successfully converted iTunes video files to DVD format.


