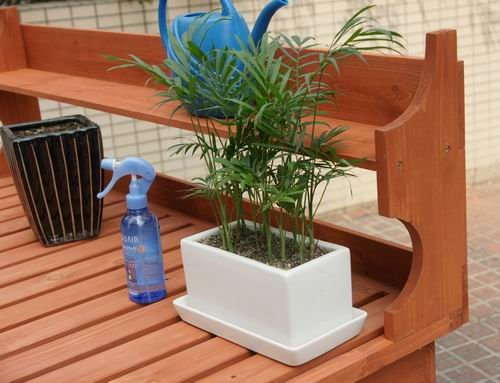
How to Build a Potting Bench from Recycled Lumber

Building a potting bench from the recycled lumber is something tricky but it helps to make a productive use of the wood. If you have a recycled wood in your store or in your lawn and want to make a good use of it then there is nothing better than building a potting bench and you can use this potting bench for keeping different things like plant containers etc. Many people do not have an idea of how to build a potting bench from the recycled lumber. But you can build potting bench easily by taking guidance from this article.
Instructions
-
1
First of all, you should check the recycled lumber thoroughly and make sure that it is in good condition and can be used for building a potting bench.
-
2
If you find nails or any other type of fasteners on the recycled board of wood then immediately remove them by using pliers or hammer.
-
3
Now decide a place where you want to keep the potting bench and measure 36 inches from the ground.
-
4
Take a board of recycled wood which should be 2 by 4 by 48 inches in size. Place it horizontally besides a wall. Make sure you have levelled the board.
-
5
Take bolts and drive them through the board and into the shed by keeping six inches distance from each other. Make the board levelled before tightening the bolts. This board will provide a back support to the potting bench.
-
6
After that, you should mount a joist hanger on both ends of the support board. Make sure that the size of the joist hangers is 2 by 4. Now take 12 inches measurement and mount the other two hangers.
-
7
Not you should take a 2 by 4 by 24 inches board and slide it into each joist hanger. Make sure that the 2 by 4 inch end of the board is against the back of the hanger. The board should be placed in a way that makes them parallel to the ground.
-
8
Drive screws through the joist hanger holes, through the wood board and into back support boar which will fasten the boards firmly. You have built the table supports now.
-
9
Now take a 2 by 4 by 48 board and place it across the front of table supports. It will provide the front support. Drive screws through this support into the ends of table support.
-
10
Take a 2 by 4 by 36 inch wood board and place it on the inside corner of every end where font supports and outside table are joined. In this way, you have prepared two front legs.


