How to Add GUI in your Java Code using NetBeans

Thanks to Java that we have loads and loads of mobile phone applications, web applets and many other windows based games and application. Since Java has emerged, the world of programming language has changed. Java is one of the most used programming languages to time. It has a very simple syntax and it is easy to understand as compared to other programming languages used to design graphics and applets. There are a number of IDE’s or development environments used to write and design Java applications and web applets. NetBeans is one of them. It is easy to use java development environment. You can easily add graphical user interface to any of your Java codes to make it look better and impressive.
Instructions
-
1
First of all make sure you have Java environment installed and running. In order to download and install the java runtime environment on your windows, click on this “Download” link and follow the instructions given on your screen.
-
2
Once java runtime environment is installed, you have to install NetBeans. To download NetBeans visit this Link. Follow on screen instructions to download and install NetBeans.
-
3
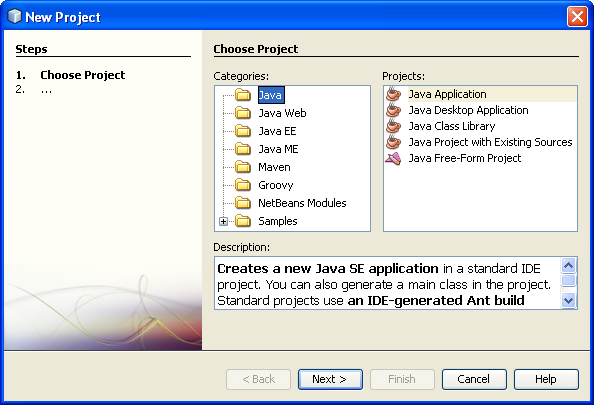
Open NetBeans, then click on new projects window and select “Java” and then you have to select “Java Application” option.
-
4
It will present a wizard for you to create a new java application. Simply follow the wizard and give your project a name of your choice and also the path where you want to store your project.
-
5
Now when the wizard is finished, you will see your project listed on the left side of your NetBeans screen. Right click on your project name, you will see a drop down list of options. Select “New” and then choose “JFrame Form” from the list.
-
6
Now you will see a drag and drop menu where you will see a number of widgets and designs. You can drag and drop any of them to design the GUI of your java application. You can write any code to associate that to your widgets or you can simply link a pre written java code with your GUI.


