How to Back up WordPress Using CornJob

Cron Job enables you to backup your WordPress tables, compress them and then it is emailed to you. All this process is done at midnight every night. Once the backup is emailed to you, it is then deleted from your server.
You need to install MUTT on your server so that you can work on this script. If it is not installed then ask your host about this. There are some well-known hosts which allow this script to work. These are A Small Orange, EMax hosting and Site5. This program is absolutely free to use. It can be redistributed or modified according to the terms of GNU.
Instructions
-
1
Get the The Script Ready
#Set the 4 variables
#Replace what is AFTER the = with the information from your wp-config.php file
#That's your information on the right okay ?
DBNAME=DB_NAME
DBPASS=DB_PASSWORD
DBUSER=DB_USER
#Keep the " around your address
EMAIL="you@your_email.com"
mysqldump --opt -u $DBUSER -p$DBPASS $DBNAME > backup.sql
gzip backup.sql
DATE=`date +%Y%m%d` ; mv backup.sql.gz $DBNAME-backup-$DATE.sql.gz
echo 'Blog Name:Your mySQL Backup is attached' | mutt -a $DBNAME-backup-$DATE.sql.gz $EMAIL -s "MySQL Backup"
rm $DBNAME-backup-$DATE.sql.gz
#Set the 4 variables#Replace what is AFTER the = with the information from your wp-config.php file#That's your information on the right okay ?
DBNAME=DB_NAME
DBPASS=DB_PASSWORD
DBUSER=DB_USER
#Keep the " around your addressEMAIL="you@your_email.com"
mysqldump --opt -u $DBUSER -p$DBPASS $DBNAME > backup.sqlgzip backup.sqlDATE=`date +%Y%m%d` ; mv backup.sql.gz $DBNAME-backup-$DATE.sql.gzecho 'Blog Name:Your mySQL Backup is attached' | mutt -a $DBNAME-backup-$DATE.sql.gz $EMAIL -s "MySQL Backup"rm $DBNAME-backup-$DATE.sql.gz -
2
Get the PATH for your file
Login to your blog, select Options. After that click Miscellaneous. You will see something like this in the box.
/home/name/public_html/blog/wp-images/
All the information that is required to you is before the public_html
Hence, your path will be /home/name/etc/cronjob.sh
In case, you are not sure at all, contact your host for the PATH to the directory where your file was uploaded.
-
3
Upload your file
Do not put this cron job in any of the directory. It can easily be read if you put cronjob in your main directory or sub-directory. In that case anyone can download it, and can easily access your database.
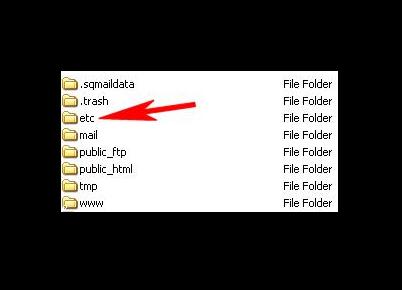
So if you do not want your data to be accessible from a browser, upload the file above your main directory. Click etc directory and upload your cron file into it.

-
4
Check CronJob Setting
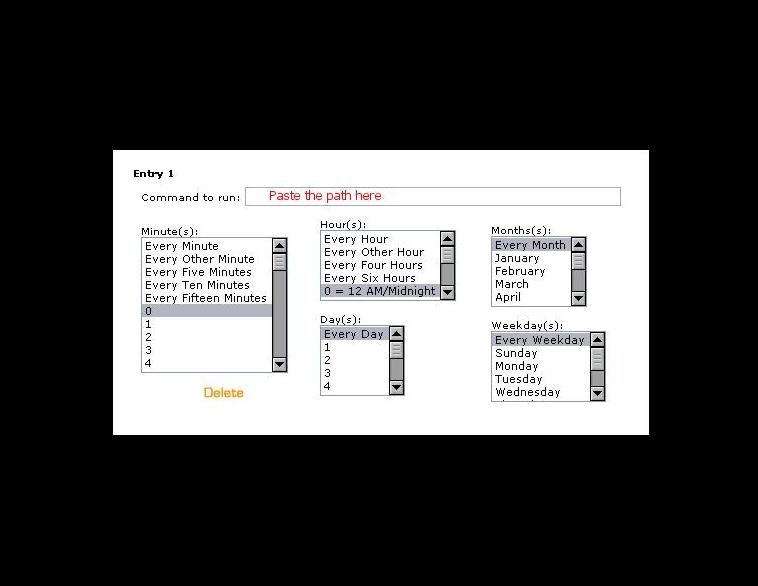
It should be offered by your host that how to access and set cron jobs. Below is the screen shot of CPanel.
Click CornJob and set it standard.

-
5
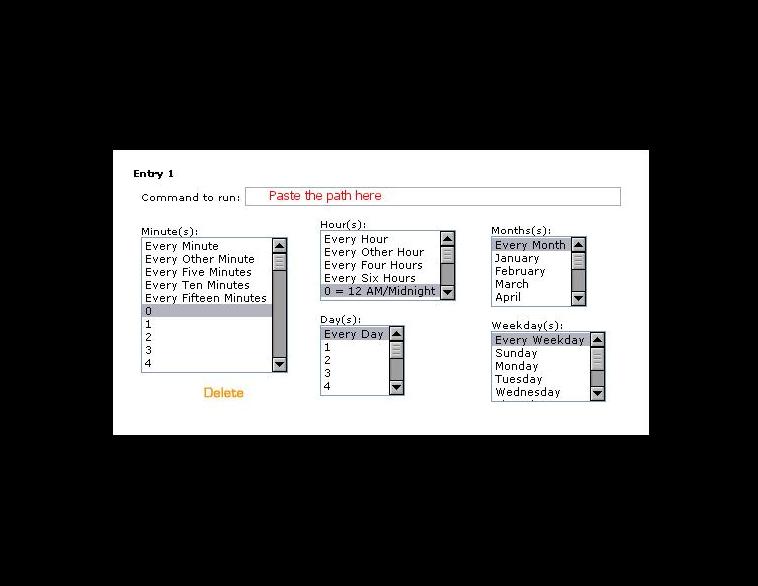
Now look at the other boxes. In case you need a backup every night at midnight, make the same options that are already highlighted. Otherwise, select according your requirement.


