How to Edit Images with Pinta
Pinta is undoubtedly an awesome image editor for Linux and is quite easier to use as compared to Gimp. It is extremely lightweight and has a lot of interesting features and tools to use. With the help of this editor, you can easily edit, resize or adjust the colors of the images. Besides, it can also be used for performing professional tasks depending on layered images and more.
Pinta is indeed a good combination of MS Paint and other professional image editing tools, and is highly recommended by experts for performing most of the editing tasks in everyday-use.
Instructions
-
1
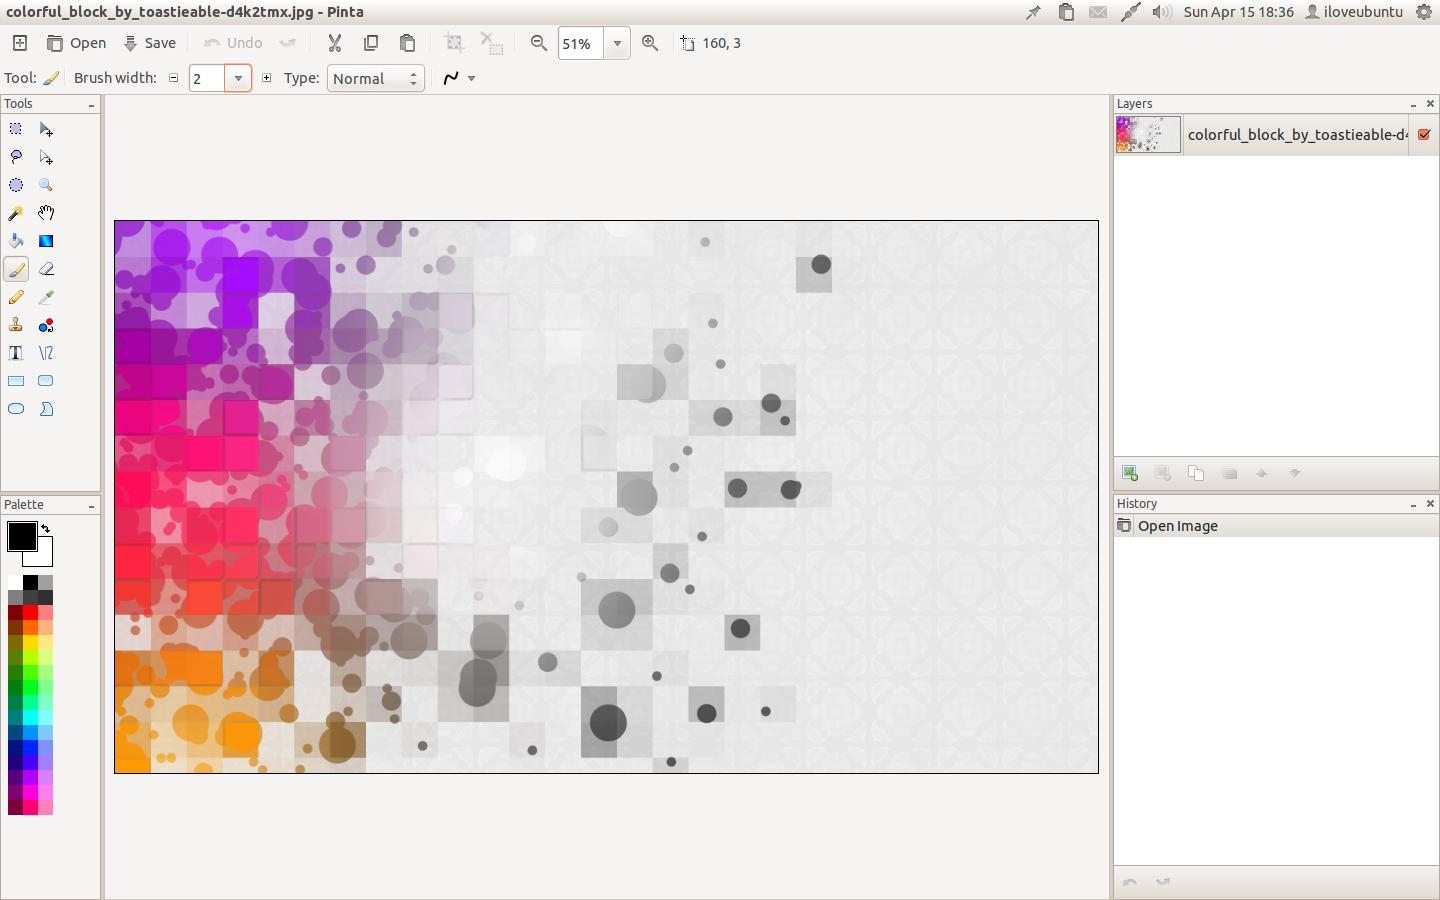
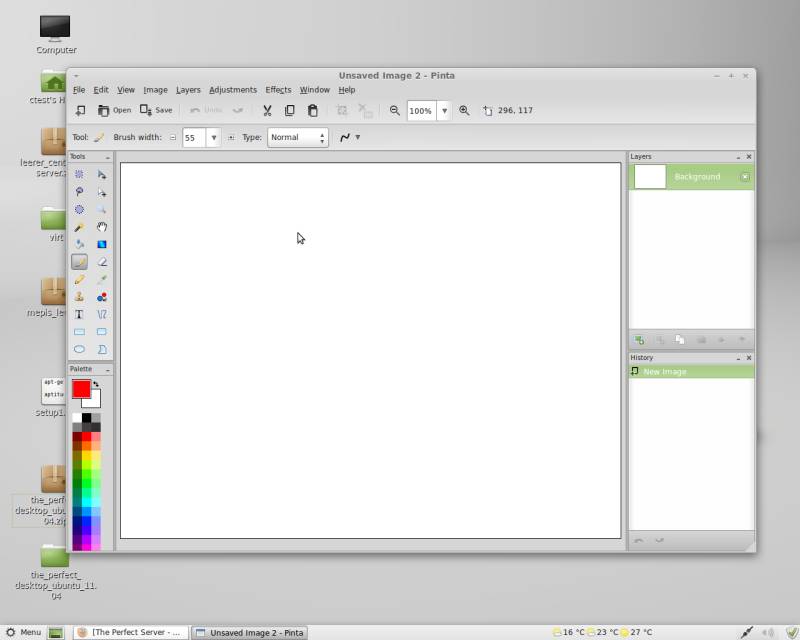
When you open Pinta, it emerges as a single window with a large central drawing panel. On the left side of the window, you will see a Tools and a Palette panel, while on the right side Layers and a History panel is located. On the upper part of the window, there are usual editing options. With the help of these options you can do several things like adjusting colors and brightness of the image. Moreover, you can add effects to your images.
-
2
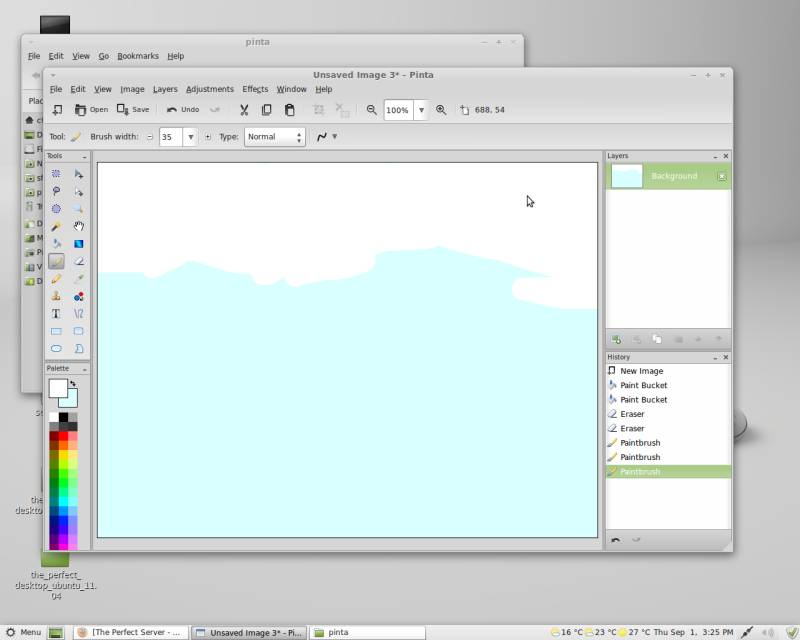
For those who are using this editor for the first time, I am creating a simple image with the help of some basic tools and effects. First of all, select the Paintbrush tool and then start with adding some colors to the first layer of the image.
-
3
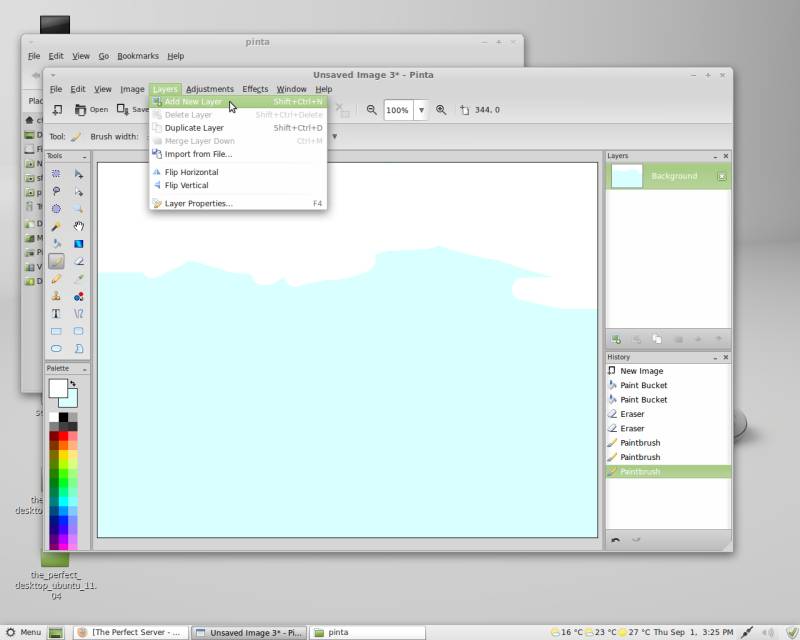
Use different layers in order to avoid damaging the previously created parts of the image. By using this feature, you can part the image into layers, which will appear as separate images with a transparent background. Now, you can easily draw anything on a single layer and remove it again. You can do the whole process without touching the content of other layers. In order to add a new layer, click Layers and then Add New Layer.
-
4
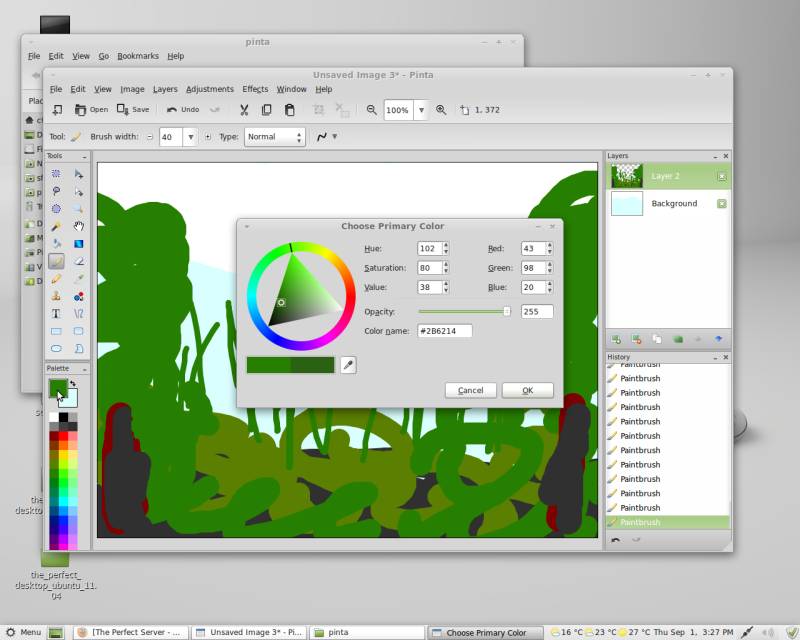
By doing this, you have an extra layer which helps you to separate your background from the rest of the image. If you want to use some other colors, double-click on the primary color option, which will open a window and you can select a color from the given options.
-
5
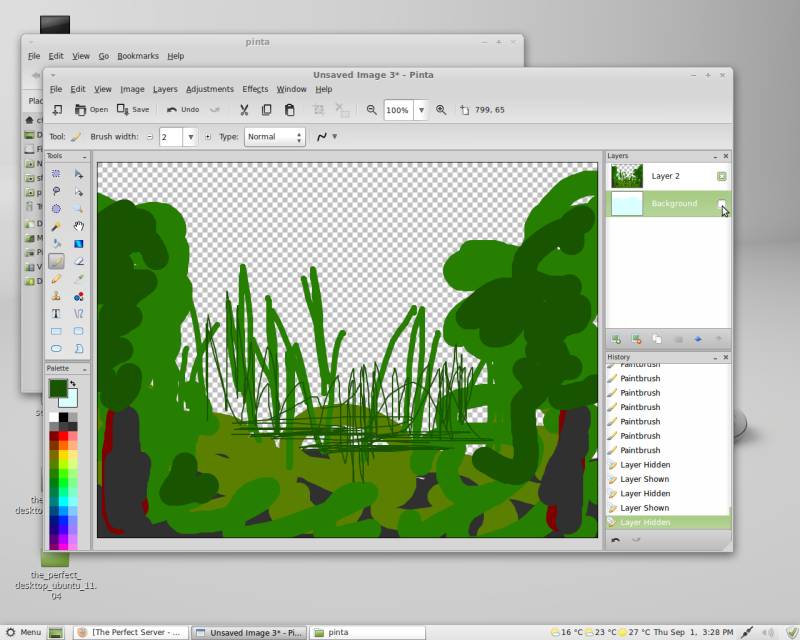
After coloring the second layer, you can see them separately by hiding the other layers. Now you have to uncheck the checkboxes that are located next to the layers’ names on the Layers panel on the right side.
-
6
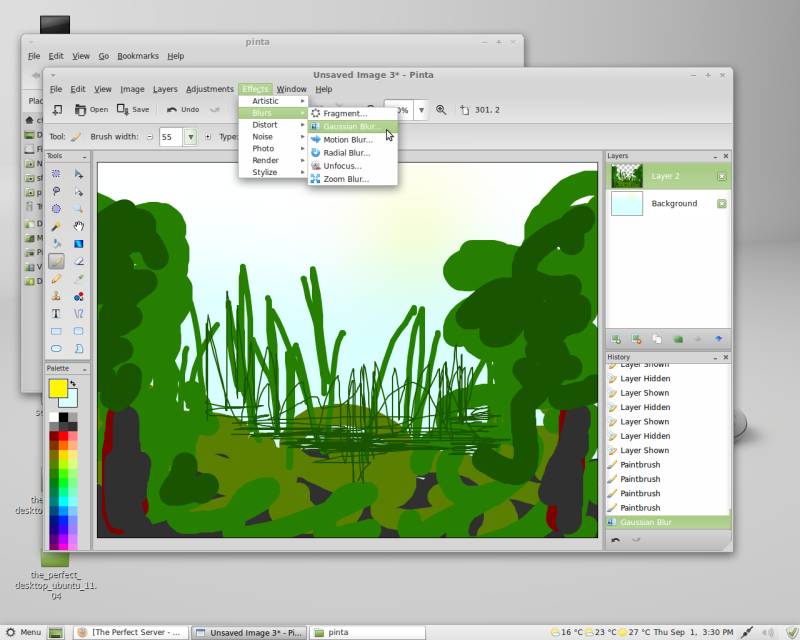
In order to make present layers just like your background, use a Gaussian Blur to do it. For doing this, click Effects > Blurs > Gaussian Blur… and select the radius according to your requirement.
