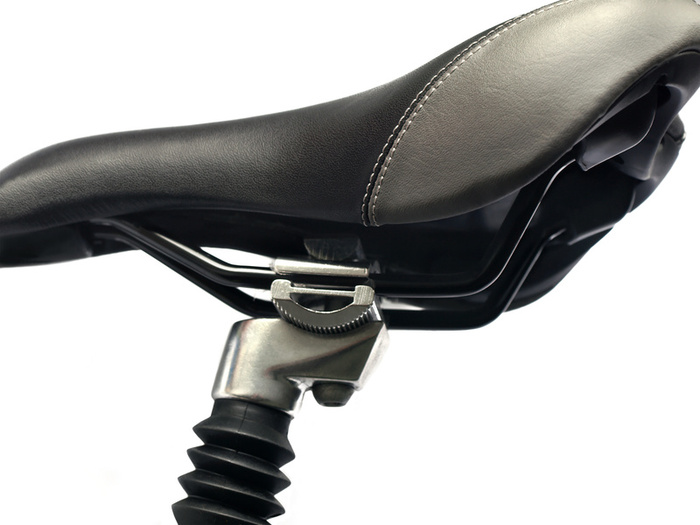
How to Retrofit a Bicycle Seat

If you have purchased a new bike and do not have any idea about installing the seat, then you have reached the right place, as this article will help you retrofit the saddle, in a perfect way. You do not need to worry if you have not even tried it before, as it is really easy and even a novice can do it. So, prepare yourself and start installing the seat.
Instructions
-
1
You will have to first determine the type of seat post installed in your bike. There are two types of seat posts that come with bikes, either one-bolt seat post or two-bolt seat post.
-
2
If you have one-bolt seat post, then you can install the seat by just loosening the bolt and turning the upper half of the clamp by 90 degrees. Thereafter, you can place the saddle on the rails and fit it. Now you can turn back the clamp to its original position and tighten the bolt. Make sure you screw the bolt enough to hold the seat in place.
-
3
On the other hand, if you have two-bolt seat post, then you may need to undo one clamp completely. You can then place the saddle over the groove and insert the bolt which you took off to undo the clamp. Tighten the bolt enough to hold the seat in place.
-
4
Once you have installed the seat, you can adjust it according to your needs. You can tilt it downwards or upwards, as per your requirements. This can be done by just pushing or pulling from the front of the seat. In the meantime, you can also do it by using a small screw, if present under the seat, to adjust the tilt.
-
5
Once you have adjusted the tilt, you can alter the length of the clamp, which is holding the seat. A general rule says that your knee should be right above the pedal, if the pedal is making a 3 o’clock degree angle. So, you can loosen the screw at the bottom of the clamp, or pull any lever, depending on the model of bike, to adjust the length.
-
6
Tighten the bolts once again when you are finished with adjusting your seat.


