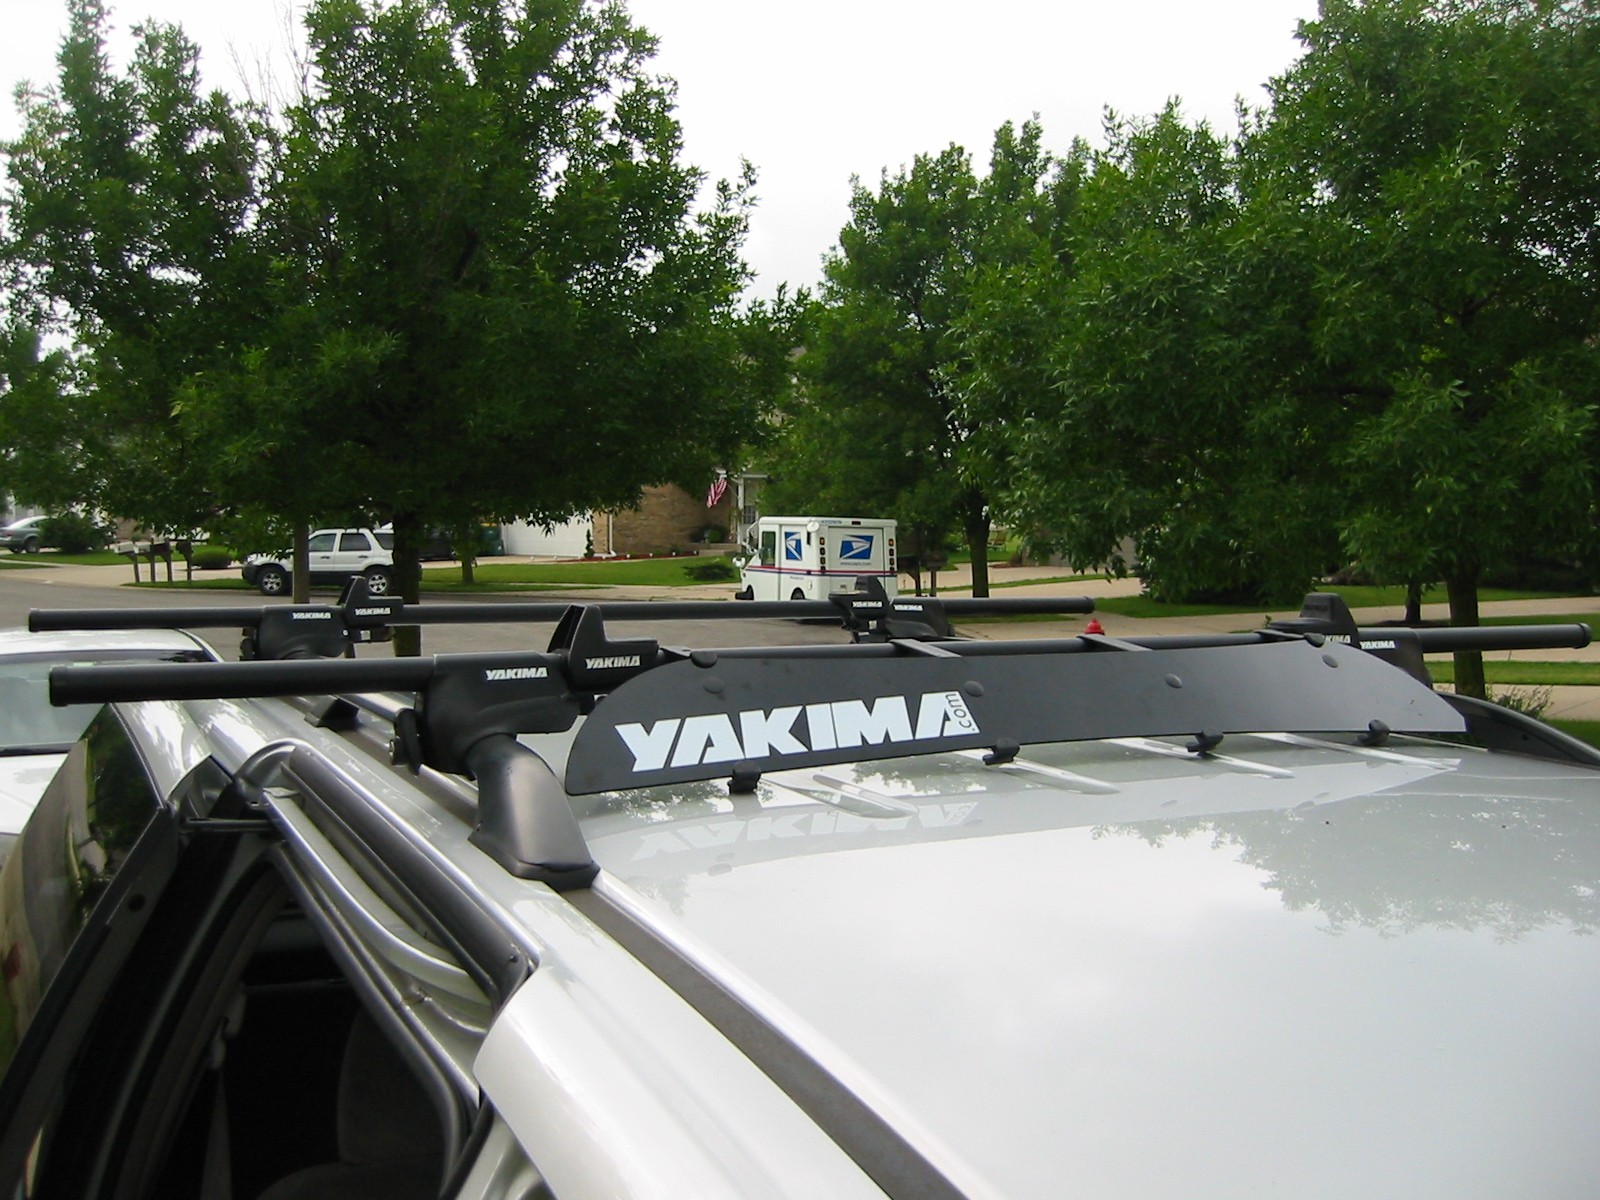
How to Install Yakima Roof Racks

A roof rack allows you to tow small containers, cargo, bikes and kayaks on your car’s exterior which means that you do not have to sacrifice interior space. Yakima is one of the most established roof rack manufacturers. Although installing a Yakima roof rack is not by any means easy, still you can accomplish this task at home if you know the proper way. Here is what you will need in order to successfully install a Yakima roof rack.
Things Required:
– 4 tower stanchions
– 2 crossbars
– Piece of wash cloth
– Measuring tape
– Allen wrench
Instructions
-
1
Wash the roof top of your car in order to get rid of any accumulated dust or grit and wipe it dry with a piece of wash cloth. Cleaning the roof top will make the installation process easier because you will be able to work on the attachment points more easily.
-
2
On the exterior of every posts, you will see a hand screw. Loosen the screw just enough so that it does not come out entirely. This will loosen the stanchions so that you can spread open the tower in order to reveal the internal mechanisms.
-
3
Look for an Allen wrench adjustment point on each of the towers. One tower after the other, insert an Allen wrench in that adjustment point and turn the wrench to your left. Continue turning the wrench until the opening is just enough to hold the crossbar that you will be installing in the next step.
-
4
Insert the crossbars keeping them parallel to the car’s windscreen. You may need to widen the opening on some of the towers to accomplish this.
-
5
Model specific guidelines to adjust the crossbar distance from tower to tower will be given in the instructions manual that came along with your Yakima roof rack. Read these guidelines and adjust the crossbars until they cover the suitable width of your car’s rooftop. Tighten the Allen wrench adjustment points that you loosened earlier turning the wrench towards your right while it is inserted in an adjustment point.
-
6
To prevent rainwater from settling inside the crossbars, close the crossbars off with plastic caps. Also, to make sure that the roof rack does not scratch your car’s rooftop, attach protective pads.
-
7
You need to keep a safe distance between the front rack and the windshield. To accomplish this, refer to the instructions manual once again. Open the car’s doors and align the front rack so that it is at a safe distance from the windshield. Lock the front rack towers in place using metal clips to make sure that they do not move.
-
8
Push the metal clip into the housing as far as possible and secure the clip by installing the lock housing. To make sure that the lock housing stays in place, slide down the fastener over it.
-
9
Repeat the same steps to adjust the remaining three towers. Finally, adjust the tension on all four towers by tightening the Allen wrench adjustment spot which should be located above the fastener.


