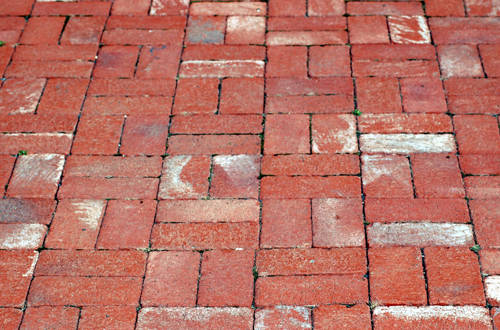
How to Lay a Basket Weave Brick Walkway

You can add a classic touch to the entrance of your hour by laying a basket weave brick walkway. You don’t have to hire some construction experts to make your walkway as you can simply create one of your own by using some tools and following a simple procedure which has been mentioned in the given steps.
Things Required:
– Spray paint
– Shovel
– Graded base
– Hand tamper
– 1-by-4 lumber
– Dead blow mallet
– Wooden stakes
– Sand
– Paver bricks
– Masonry sand
– Push broom
– Garden hose
Instructions
-
1
First of all, you have to take the necessary measurement of your walkway. Normally, the walkways are around 3 to 4 feet wide. Furthermore, the normal basket weave patterns have the width which is divisible by 8.
-
2
After noting down all the requirements, you have to mark the corners of the path. You can anything for marking the pathway e.g. you can use choke or spray paint. It will be better for you to add around two inches in your walkway in order to accommodate the corners.
-
3
Clean all the dirt from your walkway and dig the ground until you see soil by using a shovel. You will have to dig for around 4 inches down. Clear the ground after digging it.
-
4
Now, you have to add a graded base to the area which you excavated. The graded base is a kind of gravel which enhances the drainage beneath your walkway. You can easily find the graded base at any hardware store near your house. You have to pour down a two-inch layer. Then, tamp the graded base by using a tamper.
-
5
Now, take the trowel and dig one-inch wide trench to place ¼ lumbers. After that, fill all the corners with sand and tamp it down.
-
6
Start placing the brick in the walkway. You can arrange the bricks in any sequence or design. Just make sure that all the bricks are placed in the right manner and there is not empty space left. After placing the bricks, tap them down and fill the space between the bricks by using masonry sand.
-
7
Take the garden hose and wet the sand with it. Repeat wetting and filling to settle down the bricks.
-
8
After placing all the bricks, remove the wooden stakes and fill the trenches with decorative gardening edges.


