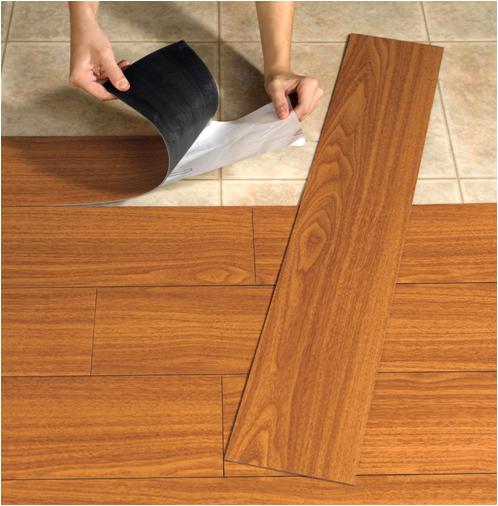
How to Lay a Vinyl Floor in a Boat

Laying a Vinyl Floor in a Boat is not a rocket science as you can perform it with basic carpentry skills. Invented in 1893, marine vinyl is one of the best quality and prestigious vinyl in today’s international market. It is a superb choice in conditions where there will be a mold, water or mildew in the boat. Moreover, it nicely resists all types of damages for longer period of time. Vinyl is an ideal choice for flooring the boat, especially the pier, dock, deck or any spot where you would be mixing water and oil. Besides its quality perspective, the marine vinyl flooring nicely complements the overall shape and look of your boat. Neither it requires any skilled carpenter’s assistance as you can apply it yourself, using few tools.
So, are your ready to Lay a Vinyl Floor in a Boat? Here we go…
Things Required:
– Carving tools
– Tape measure / Measuring Tape
– Lead Pencil
– Plain writing paper
– Marine plywood sheets
– Circular saw
– Heavy-duty scissors
– Screwdriver
– Screws
– Marine carpet adhesive
– Wide blade putty knife
– Lawn roller
Instructions
-
1
Remove the Old Flooring
Bring your carving tools into use and remove the boat flooring the vinyl flooring will replace. Set the pieces of the replaced flooring aside and clean the area. -
2
Measure the Boat Floor Area
Now use a measuring tape to gauge the boat’s floor area and note down on plain writing paper. -
3
Mark the Calculation of Marine Plywood
Take the measurements to the marine plywood sheets and use a lead pencil to mark the dimensions on them, connecting the dots in order to show the lines for the saw cuts later on. -
4
Cut the Marine Plywood Sheets
Now cut the marine plywood sheets all along the sketched frame, suing a hand circular saw. -
5
Measure Marine Vinyl Flooring
Place the Marine Vinyl Flooring on a clean and smooth surface with the face (top) side down. Now set one of the plywood sheets on it and trace all around the vinyl flooring, using lead pencil. -
6
Cut Marine Vinyl Flooring
Remove the plywood sheet on the top and cut the vinyl flowing all along the drawn pencil lines, using a pair of heavy-duty scissors. Repeat this simple step with the remaining plywood pieces and vinyl flooring. -
7
Fasten the Plywood Sheets
Take the plywood sheets to the floor of the boat and put them down properly. Now tie them up at the corners, using some large screws and a screwdriver. -
8
Apply Marine Carpet Adhesive
Squeeze a good amount of marine carpet adhesive on the top of the plywood and spread it with the help of a wide blade putty knife. Continue spreading the adhesive until each inch of the plywood is nicely coated. -
9
Set Vinyl Flooring
Immediately lay the vinyl flooring in place with their right sides upward and then press down with a lawn roller. -
10
Wait until Dry Completely
Leave the newly installed Vinyl Floor in a Boat for the next 24 hours or until the adhesive dries out completely.


