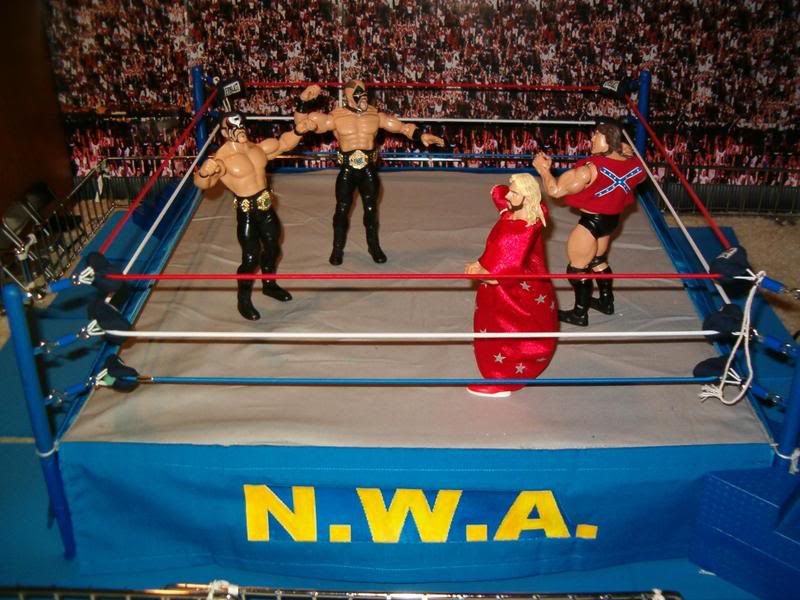
How to Make a Toy Wrestling Ring

Toys are considered to be amongst the greatest things of all times. They are fun for all ages and just about everyone loves to play with toys of some sort.
Toys come in various shapes and sizes and each one is almost as good as the other.
Wrestling toys are regarded to be amongst some of the most popular types of toys, simply because of the fact that they are so intricate and because you can recreate matches with them that you see on TV.
However, the thing about wrestling toys is that sometimes they can get very expensive, and you have to occasionally buy a lot of add-on parts.
In order to save money, the best thing to do is to somehow go ahead and create some of your own toy parts, such as creating your very own wrestling ring.
Instructions
-
1
Observe, get measurements and use internet
The first step on your journey to building your very own wrestling ring for your toys is to get the measurements of the real thing.
These measurements might be a little hard to get hold of initially, but should you be able to get them online, things would get a whole lot easier for you.
You also need to scale down the measurements based on the size of the toys.
The best way to do this is to check the actual height of a wrestler online and then measure the height of his/her toy. You can then get the ratio and apply it to the rings measurements. -
2
Get materials and cut out
Once you have gotten the measurements, go ahead and get the materials to build the ring. Wood is going to be crucial, but you can also try and find some hard cardboard to work as an alternative.
You just want to get the feel of the ring, so wood might prove to be a safer bet in that aspect. -
3
Finish and add detail
Once you have the basic structure of the ring built and looking good, you need to add some finishing touches.
You can get some wool or thick thread to create the ring ropes that go all around the ring, while you can also use tooth picks to help create the corner turnbuckle areas.
Using paint to add some visual beauty to the ring is also highly recommended.


