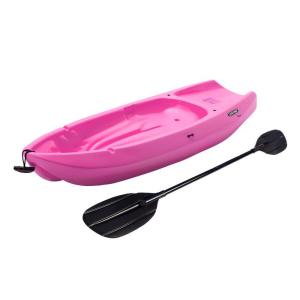
How to Repair a Polyethylene Kayak

Maintaining a polyethylene or plastic kayak is relatively easy as the material is strong and usually trouble-free. Kayaking can be a lot of fun if your kayak is in top shape. However, sometimes you can develop cracks in your polyethylene kayak which can lead to trouble, especially if you are out on the water. There is no need to worry, as repairing a polyethylene kayak is relatively simple and if you follow some basic guidelines then you should not have any trouble getting your kayak back in shape.
Things Required:
– Heating torch
– Sandpaper
– Polyethylene plastic strips
Instructions
-
1
Buy materials:
Be sure before trying to repair your polyethylene kayak that you buy all the necessary materials that you will need to help you get the job done right. You can buy all of the materials from any hardware store, however if you need more specialised items then go to a boating or sports supply shop for your supplies. -
2
Secure kayak:
Carefully flip your kayak upside down and find a flat solid surface to put it on. Try to find a nice place that is open as the fumes from burning plastic can be quite toxic. Be sure to secure your kayak so that it does not move around while you are trying to repair it. -
3
Identify damage areas:
Carefully inspect your polyethylene kayak from the inside and outside for any possible damage. If you see a crack or holes then use a marker or some chalk to make a note of it. You should look over the entire kayak so that you can make all of the necessary repairs once and not have to repeatedly fix it. -
4
Use sandpaper:
The next thing that you will want to do is to take your sandpaper and carefully sand the areas that you found damage. You want to sand enough area so that all of the plastic is even or level. -
5
Use heating torch:
Now you can use your heating torch which can be either propane or any other type of heat source to melt the polyethylene plastic strips that you will use to repair your kayak. -
6
Melt together:
Carefully place the repair polyethylene plastic strips that you have heated up on top of the damage area to cover it fully. Now allow both the kayak plastic and the polyethylene strip melt together and form a secure bond. -
7
Sand and inspect:
Gently sand the area so it looks uniform. Now inspect the area to ensure that you properly covered the damage and that the plastic has fused together securely.


