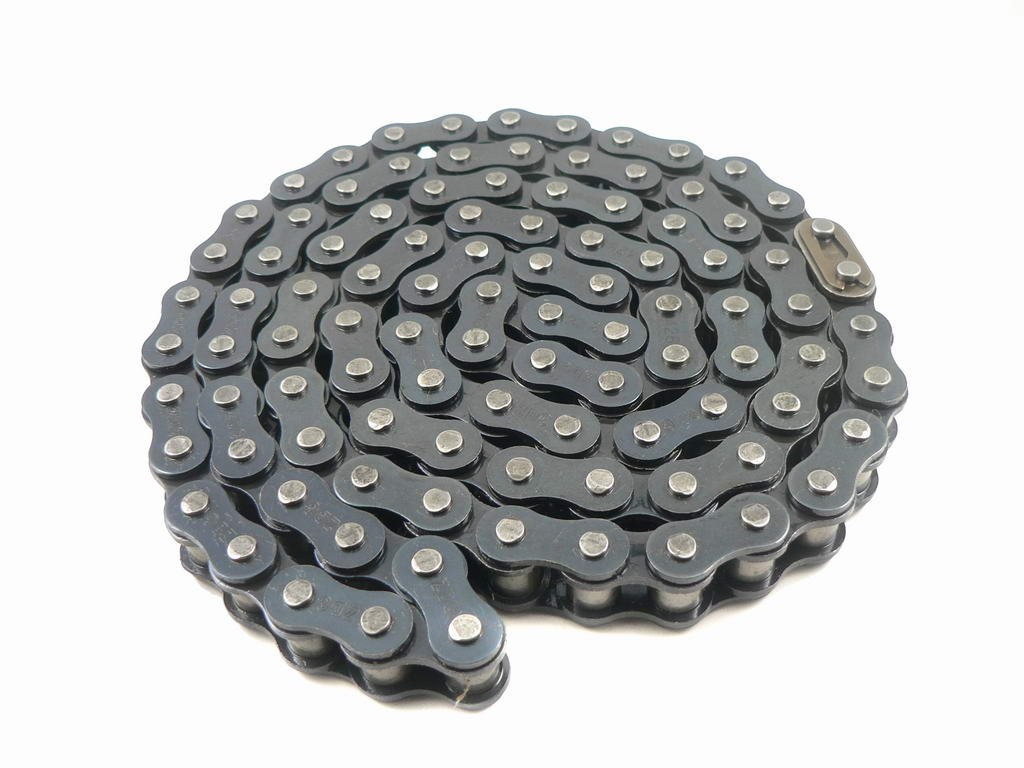
How to Add Links to a Motorcycle Chain

The normal life span of a motorcycle chain is estimated to be around 20,000 miles. However, if you add links to the chain, the life is reduced to only 500 miles. However, it is absolutely necessary to increase the length of the chain if you want to increase the top speed of your motorcycle. In order to ensure that the new chain lasts for a longer period of time, determine the chain’s length using the desired gear ratio.
Things Required:
– Chain breaker
– Motorcycle jack
– Motorcycle jack stand
– Basic socket set
– 2 blocks four-by-four wood
– Rear sprocket
– Cotter pin
Instructions
-
1
Count the number of teeth of both the rear and front sprockets of your motorcycle. In order to calculate the gear ratio, divide number of teeth on the motorcycle’s rear sprocket by the number of teeth on the motorcycle’s front sprocket. The speed on power of your motorcycle depends directly on the gear ratio. High gear ratio means more speed and power. You will need to change the rear sprocket of the bike since you are varying the length of the motorcycle chain. Refer to the motorcycle’s desired gear ratio in order to select the appropriate rear sprocket.
-
2
Carefully observe the motorcycle chain in order to locate the master link. The only difference between the master link and normal links in the motorcycle chain is that the master link has a double layer on one side. Separate the master link by compressing the handles of a chain breaker clamped on the master link. Once the master link has been separated, pull off the chain.
-
3
Raise the rear side of the motorcycle by jacking it up with a motorcycle jack. Place a motorcycle jack stand under the bike’s centre in order to provide additional support to the bike so that it does not slide off the jack while you are working.
-
4
The bolt holding the rear wheel attached to axel is fitted with a cotter pin. You need to remove this pin and then remove the axel and tyre with a socket set and wrench. Carefully set aside the wheel and the axel out of the working space.
-
5
Now you need to remove the sprocket from the hub. Accomplish this by removing the nut at the centre of the hub which holds the rear sprocket in place. It will be easier to remove the nut if you place the tyre on 2 blocks of four-by-four wood so that tyre is raised from the ground.
-
6
Install the rear sprocket which will compensate for the increase in length of the motorcycle’s chain by sliding it onto the hole in the centre of the exposed hub. Once you have installed the new sprocket, secure it with the bolt that you removed earlier and re-install the wheel in its original location.
-
7
Run the new chain over the front sprocket and then over the rear sprocket. Lock down the master link in position.


