How to Print Posters on a Computer

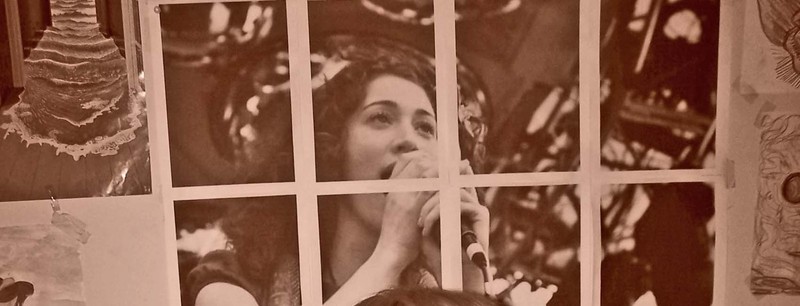
Many students require posters for different projects, crafts or gifts but due to limited pocket money, they can’t spend too many bucks on purchasing posters from the market. Professionals use large-format printers for making enlarged posters. However, you can use your computer and a regular printer to make your own posters at home. All you need a tiling option in your colour printer, as tiling breaks up the poster into multiple printed pages without affecting the size of the image. Make sure your printer has the tiling function if you want to print large posters at home.
Instructions
-
1
Turn on your computer and select the image you want to make the poster. You can download any image file from the internet and save it on your computer hard disk.
-
2
Open up the image file you choose in the default image viewer of your computer. Right clicking on the image will give you a list of options and you have to select ‘Print’ from it. The printing option is also available under ‘File’ in the top menu bar.
-
3
A list of printing devices will appear and you have to select the appropriate one from it.
-
4
Printing options will appear on the screen and you have to select ‘Properties’ or ‘Set up’. Then click on ‘Advanced’ option to proceed further.
-
5
Go to the ‘Paper size’ tab to determine the size of your poster to be printed. If you don’t find your desired size in the provided list, you can go to ‘Custom Size’ option, type in your required dimensions of the poster and click the ‘OK’ button.
-
6
You can find the ‘Tiling’ option in the ‘Document Options’. Turn ‘On’ the tiling option before proceeding.
-
7
Clicking the ‘OK’ button will finalize the printing settings. You can preview the layout of your poster in a thumbnail image present in the ‘Print’ dialog box.
-
8
Insert papers in the printer and then hit the ‘Print’ tab to start the process.
-
9
Once the pages are printed, take your poster board and lei it down on a flat surface.
-
10
Now organise the tiled pages you printed, carefully aligning the edges of all the pieces of the image. This is the most vital part of the entire process, as any sort of mistake may destroy the whole look of your poster. You can also cut the overlapping papers if you feel necessary.
-
11
Affix the tiled pages to the board by applying paper tape or glue at their back and your poster will be ready.


