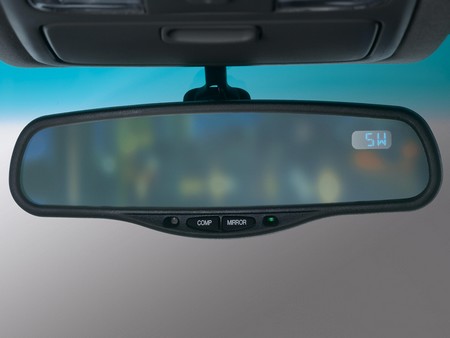
How to Repair a Rear View Mirror

Not most of us pay special attention to the rear view mirrors of our vehicles and it only comes into our notice when it falls off the windshield. Rear view mirrors are extremely important while parking your vehicle or changing lanes on roads while driving. Once broken, only then you come to know the importance of the rear view mirror. These mirrors are also heavy and hence, even hot glue cannot hold them into place. Moreover, the old glue still clings to the windshield like a second skin and won’t allow fresh adhesive to stick.
Instructions
-
1
Cleaning and Preparing the Mirror
The rear view mirror is attached to the windshield by a button or a small arm, upon which the mirror swivels. You have to remove this button section from the rear view mirror so that the new one can be attached accordingly. -
2
Examine if any residue of glue is present at the flat portion of the button. This residue won’t allow fresh adhesive to stick.
-
3
Remove the adhesive residue completely by using a razor scraper. Make sure not a single bit of residue is left on the button’s flat portion.
-
4
Take out the solvent present in the rear view mirror reattachment kit and clean the button with it thoroughly. This will further remove any residue from it.
-
5
Cleaning and Preparing the Windshield
Determine the spot where the new rear view mirror has to be placed. The adhesive residue will clearly determine the spot to reinstall the new mirror. -
6
Use the same razor scraper to remove the adhesive residue from the windshield. However, you should be assured not to remove the spot for attaching the new rear view mirror.
-
7
Take out the solvent from the reattachment kit once again and clean out the glue residue from the windshield. Cleaner button and windshield will ensure that the reattachment of mirror is firm and tight.
-
8
Wait until the cleaning solvent completely dries and the time required to do so is mostly mentioned in the instruction manual.
-
9
Applying Adhesive
Squeeze out the adhesive from the tube and apply a small amount of it on the button. Make sure you apply adhesive to the right end of the button. -
10
Gently place the button on the guide mark you made on the windshield and press it firmly. Hold it there for a minute and then let it dry completely for 15 minutes.
-
11
Attach the rear view mirror to the button after the adhesive has completely dried up. Adjust the angle of the mirror accordingly and drive safely!


