How to Use Light Meters in Photography

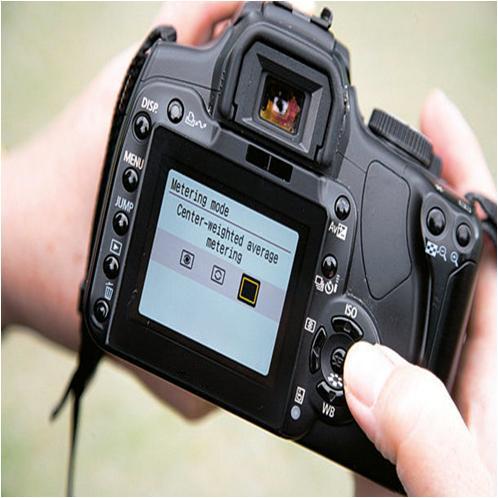
One of the essential tools in the picturesque artist’s palette is the light meter. It is one of the latest inventions in the photography industry that provides the photographers with an opportunity to read and set the lighting properly determining an appropriate exposure for a photograph. Wide range of light meters is now available in the market, giving the photographers a suitable shutter speed, f-number, and amazing aperture settings in order to capture perfect pictures. However, the spot meters and the in-camera meters are the most famous ones.
Using light meters in photography is a simple activity that involves some very simple steps. You can control it easily to take advantage of it to enjoy perfect and eye-catching exposure for photograph.
Instructions
-
1
Opt for the correct film speed
Use the film speed (ISO) dial, located on the top of your camera, to select an accurate film speed. If you have a DX-encoded film cartridge, then you don’t have to worry about this adjustment as it will automatically read the speed. -
2
Adjust the meter’s settings
Fine-tune the meter’s setting properly. You can set it to shutter speed, automatic mode or aperture. The procedures to set the three settings are as given below:
Shutter Speed Setting: With this setting, you would be able to automatically set the shutter speed. You just have to fiddle with the camera’s aperture.
Aperture Setting: The light meter in this type of setting adjusts the aperture automatically. All you have to do is, set the shutter speed properly.
Automatic Mode: It is the easiest setting that selects both of the above setting for you. -
3
Press the shutter button
It is the time to take a reading and lock onto the object. Use a slight force to press the camera’s shutter button part-way (half-way) down, making sure not to press vigorously. You can find this button on the side or top of your camera. Hold the button at this position for few seconds and closely observe the readings shown in the screen. If your camera is not set to an automatic mode, then make sure to use the meter’s readings to adjust either your shutter speed or aperture. -
4
Adjust Spot Meters
The above mentioned instructions are for the in-camera meters. For spot meters, follow the given below simple steps:
- Adjust the film speed (or ISO) dial on the top of the meter to the speed of the film you're using.
- Press the button on the top of your light meter in order to measure the light in-between the camera and an object.
- Obtain a second meter reading from the subject back to your camera.
- Take an average the two readings, and determine the shutter speed and aperture on your camera.


