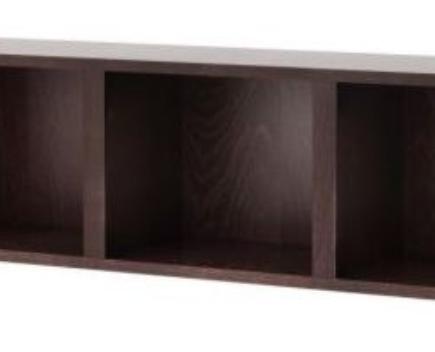
How to Install the Backing Plate for Storage Shelves

You can add custom made shelves to you room at any time you want. However, it is really important that you install backing plates for the shelves, to add sturdiness and strength to the shelves. The backing plates also add beauty to the shelves, especially when you place your valuables on them. So, to add the backing plates, you do not need to call a professional and pay him money to do it for you. In fact, you can do it yourself, provided that you have the right tools to do so.
Instructions
-
1
First of all, you need to choose the room and the wall which you will be using to install your new shelving unit. Always try to choose a wall that does not comes in your passage.
-
2
Once you are done with choosing the wall where you will install the shelves, mark the level for each new shelve you plan to build. This mark is the point where you will install the backing plates.
-
3
You should then draw a straight line across the wall, in order to define the points where the backing plates will hang. To draw a straight line, you can use level.
-
4
Take a 2-by-4 inch board and cut it as per the size of your shelves. Take one piece and hang it over one of the level-lines that you drew on the wall. When installing backing plates for your shelves, you should always try to prefer fir or pine wood. If you feel that you cannot afford such types of boards, then you can also think about using plywood or particleboard instead.
-
5
You can now use drilling machine to make holes at each end of board, and insert studs into the holes. You can then screw in 3-inch deck screw in each of the studs. Using studs make it easier for the shelves to carry heavier items.
-
6
Once you are done with installing the backing plate at one of level lines on your wall, you can repeat step 4 and 5, for each level line on your wall.
-
7
After installing all the backing plates, you can install your shelves, and place your books or other valuables on them.


