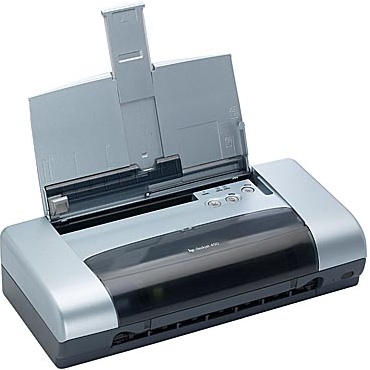
How to Clean an HP Deskjet 450’s Rollers

Have you been lately noticing smudges on documents printed from your HP Deskjet 450? The problem is probably being caused due to dirty rollers inside the printer. Cleaning the rollers may solve the issue. However, you should not open the printer to work on the rollers unless you are confident that you will be able to reassemble the printer in its original shape. In case feel that you can accomplish this task without creating further problems with the printer, you will need a bowl of distilled water and a piece of microfiber cloth.
Instructions
-
1
Establish a safe working environment by removing the printer’s power cable from the power source. Also, remember to unplug any cables running from the printer to your computer. This is important to avoid the risk of a possible electric shock while working on the rollers.
-
2
The printer may be heated if you had just finished a printing task. In such a case, you will want to allow at least 15 minutes for the printer to cool down properly before moving on to the next step.
-
3
Lift the printer’s lid and take a close look at around the ink cartridges to make sure that the smudge was not caused due to leaking cartridges. Try not to make physical contact with the cartridges because if you may damage an ink cartridge permanently if you so much as touch the cartridge part where it makes contact with the print head. Replace any leaky cartridges before proceeding further.
-
4
The rollers will be located directly beneath the ink cartridges. Liberally dip a piece of microfiber cloth in distilled water. Wring the microfiber cloth and get rid of excess water so that the cloth is only moist. Carefully place the moist cloth on the rollers and turn the rollers several times. Any dust accumulated on the rollers would stick to the cloth which means you will end up with clean rollers after you are done with this step.
-
5
Allow approximately 20 minutes for any moisture left on the rollers to evaporate properly. Do not close the printer’s lid during this time.


