How to Extract a Portion of an Image using Photoshop

Adobe Photoshop is a great image editing software program, which allows its users to create, edit and merge different images into one. The program comes with numerous tools which makes it really easy to do almost anything with an image.
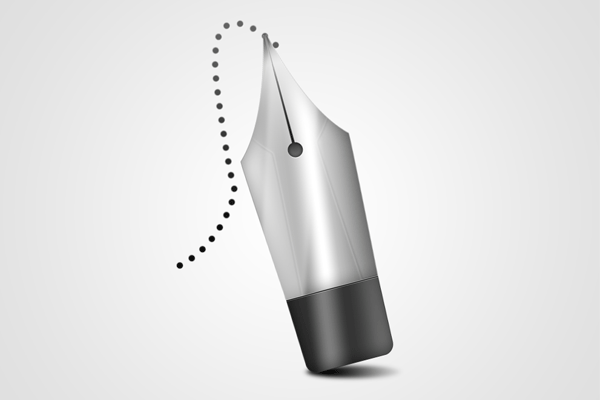
If you want to extract a portion of an image and use it on another picture, then you can benefit from the pen tool, which is really easy to use and even a novice user can use it, provided that he/she knows the right process.
Keep reading this article if you want to know how you can extract an object from a particular photo using Adobe Photoshop.
Instructions
-
1
Launch Adobe Photoshop program and select “Open” from the “File” menu. Now you need to locate the image file which you want to extract something from.
-
2
Once the image is open in the program, you need to select the Pen tool from the “Toolbar”. Now you need to click at any point over the edge of the object which you want to extract from the image. Clicking the image with create the starting point of your path.
-
3
You can then start creating outline of the object, by clicking on the edge, making sure you cover all the portion of the object. If the object’s edge is not smooth, then you should try to keep the points close enough to keep the edges in the outline. Keep repeating the process until you reach back to the point where you started. Click on the initial point, to finish the “path”.
-
4
Now you need to right click on the path and select "Convert to Selection”. Go to “Edit” menu and select “Copy”. This will extract the object from the image.
-
5
You can then open the image you want to add the extracted object to. Click on the image, and go to “Edit” menu to select “Paste”. You will see the object appearing on the image. Use the “Move” tool to move the object anywhere on the image, as per your needs.
-
6
Once again, go to “Edit” menu and select "Transform”. Select “Scale” and use the handles to adjust the size of the object you added to the new image. Once you are finished, go to “File” menu and select “Save As”. You will now be asked to provide a location where you want to save the image with the extracted object. Click “Save” to finish saving the image on your hard drive.


