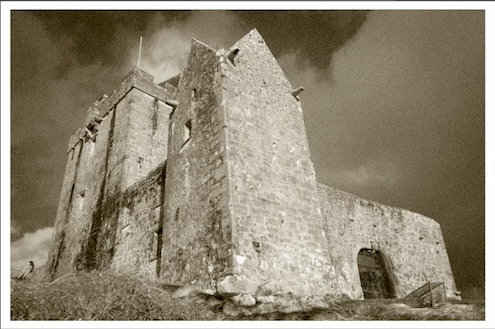
How to Add Film Grain to a Photograph Using Adobe Photoshop

Either you are a professional or merely looking for a creative hobby, photography can fulfil your both needs. Taking images of persons, natural scenes or static objects can be a real fun-filled activity if you have such taste. You can easily express out your creative skills through photography and can evolve into a professional photographer to have a profitable career. However, merely taking photographs through a camera is not the need of the day but you should also be an expert to add special effects to the images to make them look even better. You can find several photo-editing software but Adobe Photoshop is the most commonly used one throughout the world. You can use this software to add such special effects to the images to make them look old.
Instructions
-
1
You might have noticed that older photographs contain grains within them. That is actually the results of clumping silver halide crystals during the process of developing. You can use Adobe Photoshop to add this ‘grained’ look to the images, bringing some vintage look to them.
-
2
First of all you need to install Adobe Photoshop 6.0 or any later version onto your computer. You can easily download it from the internet for free.
-
3
You have to remove the colours from the image and make them black and white. Open Adobe Photoshop and click in ‘Image’ button to proceed. Click on ‘Adjust’ and then ‘Desaturate’ options simultaneously. This will remove all the colours from the photograph and make it black and white.
-
4
If you desire to crop a particular portion of the photograph, you can use the ‘Marque’ tool for this purpose.
-
5
Then you have to add some dust and scratches to the photograph. Go to ‘Filters’ and click on ‘Noise’. You will find ‘Dust & Scratches’ option there. You can use ‘Plus’ and ‘Minus’ controls to view the image in full frame or in detail. Use the sliders, ‘Radius’ and ‘Threshold’ controls, to adjust the special effects until you have got the desired results.
-
6
Now your image is ready to add grains to it. You have to open up the 'Filter' options and click on the 'Noise' tab. You can see 'Add Noise' option there and it can be used to add as many grains to the image as you desire. The sliders present in the option are to be used to increasing the concentration of grains in the photograph.
-
7
Preview your image and you will be amazed to see it appears to be a perfectly old photograph.


