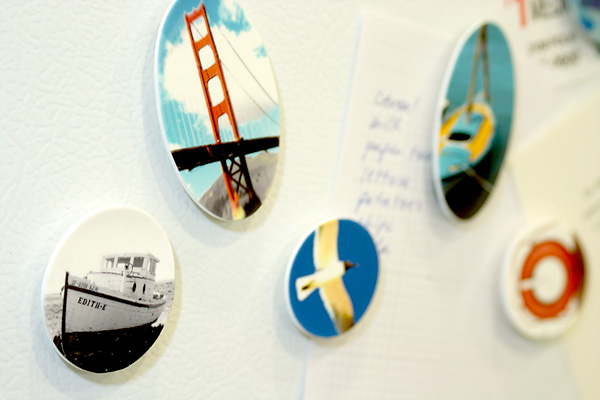
How to Make Magnets from Pictures

The best way to decorate your refrigerator with your favourite pictures is to use photo magnets. It is not very difficult to make photo magnets. All you need is a little time and few tools to make magnets for your pictures. You can easily set your magnets in a glass to make it more attractive. If you are looking forward to make your own photo magnets, you can take help from the given steps.
Things Required:
– Photos
– Small glass shapes
– Magnet sheet or button magnets
– Clear, strong glue
– Scissors
– Toothpicks
– Super glue
– Paintbrush
– Vinegar
– Cloth
– Pencil
– Lint-free cloth
Instructions
-
1
First of all, you have to find round shape pieces of glass which you will use to cover your magnets. You can also use rectangular shaped glass if you want. The shape of glass will determine the shape of your magnet.
-
2
Then, you have to select the photos for which you want to create the magnets. You can simply resize the photos in your computer according to the size of the magnets. Take out the prints of your favourite pictures. If you want to use any of your printed photos, you will have to scan it first in order to resize it according to the size of your refrigerator. Then, take out the prints and paste the photos on the neodymium sheet. It is very important for you to buy a good quality neodymium sheet. You can easily get the sheet from any craft store. In addition, you can also buy the sheet from an online store.
-
3
After that, you have to trace the shape of the glass piece over the pictures with the help of a pen or pencil. Now, take a pair of sharp scissors and cut the sheet according to the trace.
-
4
Then, you have to paste the photos on the glass with the help of a glue stick. Before pasting your pictures, you must clean the glass with vinegar in order to clean them properly. Let the glue dry a little bit before affixing the pictures to the magnet.
-
5
If you are using a sheet which have adhesive on one of its sides, you will have to cut it properly to affix the pictures in the right manner.


