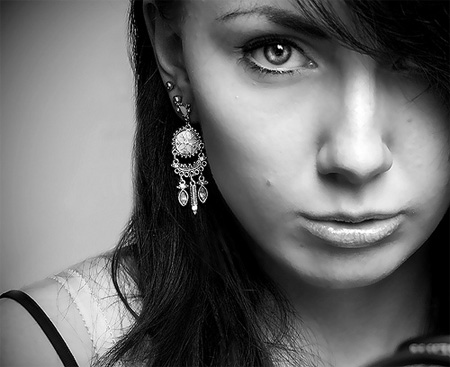
How to Take a Self Portrait

Taking a self portrait is sometimes better than waiting for a professional photographer and then relying on his or her instructions to achieve the best pose. Since the photographer will be on the clock, they won’t have all day to work on fixing your posture. Instead, you can opt to take your own photos without having to worry about time. However, if you are self conscience, it might take a few attempts before you are satisfied with a photo. Just do not be too critical of yourself and everything will turn out fine.
Things Required:
– Tripod
– Camera
Instructions
-
1
The first thing that you need to have is self confidence, feel good about yourself and do not hide from the camera, come in front and shine. Remember, people are not going to be critical of your portrait the way you will be. So relax and let the camera roll.
-
2
Location holds key importance when taking a self portrait. You need to choose places where you feel comfortable as this will reflect in the portrait.
-
3
For getting the perfect picture it is advised that you take several shots and then pick the best one for your portrait. You can continue to take photos of yourself for as long as you want until you are satisfied.
-
4
You now need to setup a tripod with the camera focusing on the area where you will be posing.
-
5
You can turn on the timer feature on your camera which will give you enough time to settle in and make a pose before the photo is taken. After taking several shots at the same location and posture, you need to change the area, lighting and your posture for another set of photos.
-
6
You should also take a few close up pictures by holding the camera in your hand. This will bring out the emotions in your eyes.
-
7
Once you have your photos, you can ask your friends or family members which to pick for the portrait, in case you cannot make up your mind.


