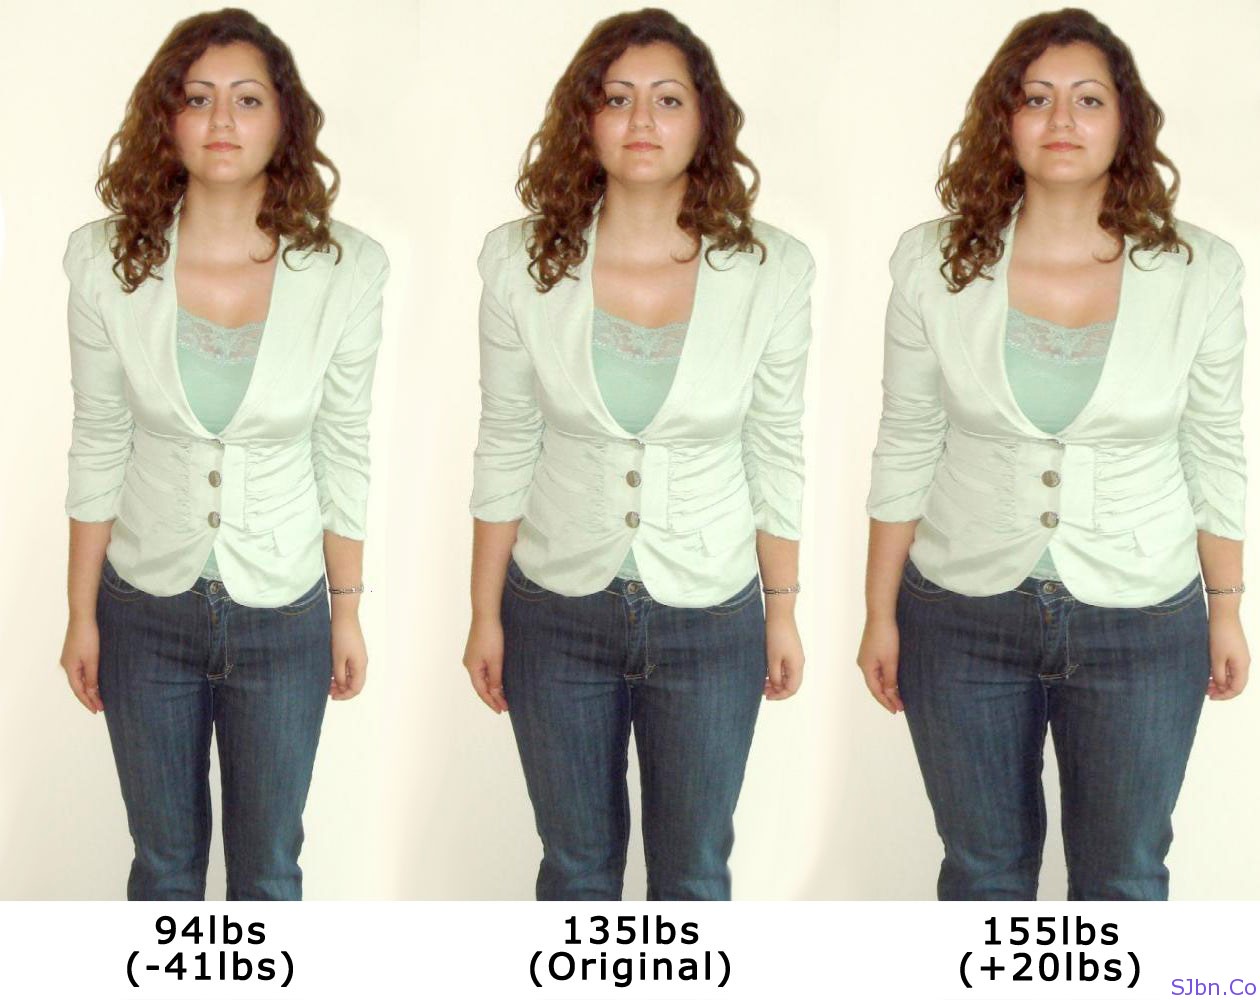
How to Make Yourself Look Thinner in Photoshop

Photoshop is one of the most widely used photo editing software. It allows you to edit your photos, create graphics and develop web pages. Almost all the graphic designers, photographers and web developers use this software to get their work done. You can also use the software according to your requirements by learning from the tutorials which are easily available on the internet.
You can edit your photos in any way you like. If you are looking forward to look thinner, you can use the tools in Photoshop to edit your picture accordingly.
Instructions
-
1
First of all, you have to open Photoshop on your computer. You can easily open it by double clicking its icon on the desktop. But, if you have not created any kind of shortcut while installing the software, you will have to search for it in the list of programmes by going to the start menu.
-
2
After opening Photoshop, click on the ‘File’ option which is given at the top left corner of your screen and then click on ‘Open’. Now, select the photo which you want to edit by going to the respective folder.
-
3
Then, click ‘Image’ option and select the size of your image by selecting ‘Image Size’ option. After that, you have to uncheck the ‘Scale Styles’ option. You must also uncheck the ‘Constrain Proportions’ box.
-
4
Now, you have to notice the ‘Document Size’ option of your dialog box. Click on ‘Percent’ as the unit instead of ‘Inches’. It will provide you more help in making the necessary changes in your photo.
-
5
After changing the width percentage, click on ‘OK’. The extent of the change of percentage depends on the background of your image. If your image background is plain, the lower your drop the percentage, the better it will get. In order to look thinner in the photo, you will have to lower the percentage. However, if the background of your image is not plain, you will have to increase the percentage to get the needed results.
-
6
It is very important for you to keep in mind that you must work in layers in order to keep your original photo intact. In this way, you will be able to see the difference between the original and the changed image.


